
I watched a YouTube creator make some letters using Tumbling Tower Blocks and wanted to give it a try, too. Here’s how I spelled out the word “FALL” using Tumbling Tower Blocks, then turn them into useful and decorative magnets for the fridge.
Fun Fall Letter Magnets Using Tumbling Tower Blocks
I am an Amazon Associate. If you click on a link and make a purchase, I will make a small commission at no extra cost to you.
Supplies Used and Recommendations:
- 14 Tumbling Tower Blocks
- hot glue or wood glue
- ribbon
- fall stickers
- magnets
Step 1: Glue Blocks Together

I chose to use the plain blocks but you could use the brown blocks. They will be mostly covered anyway. Three tower blocks are all you need to make each of the L’s. I used hot glue, but wood glue would give you a more permanent hold.
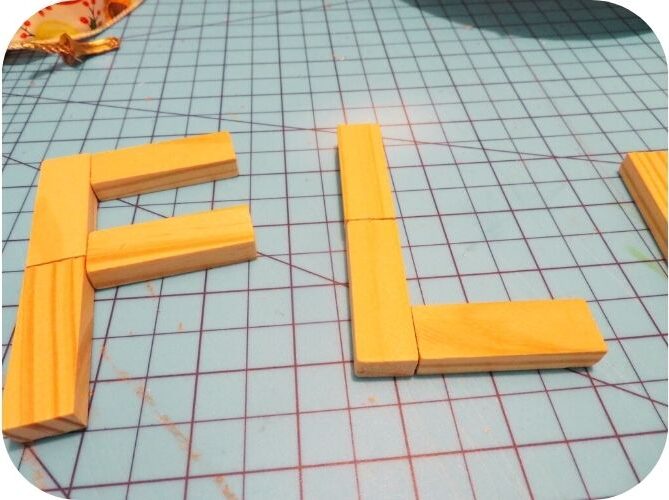
The F came together using four blocks.
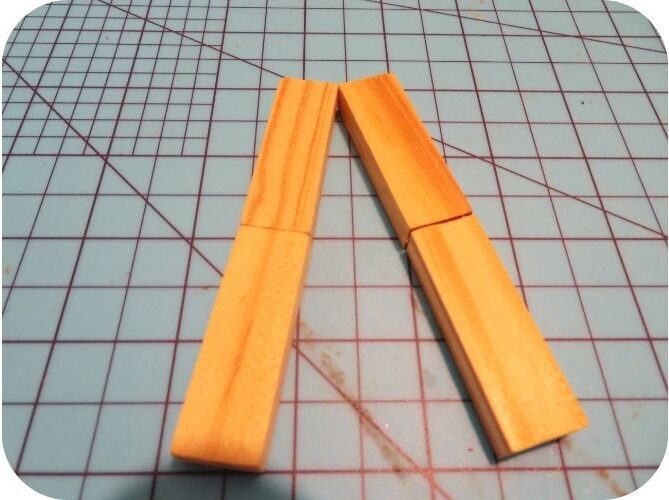
Two sets of two blocks made the outline of the A.
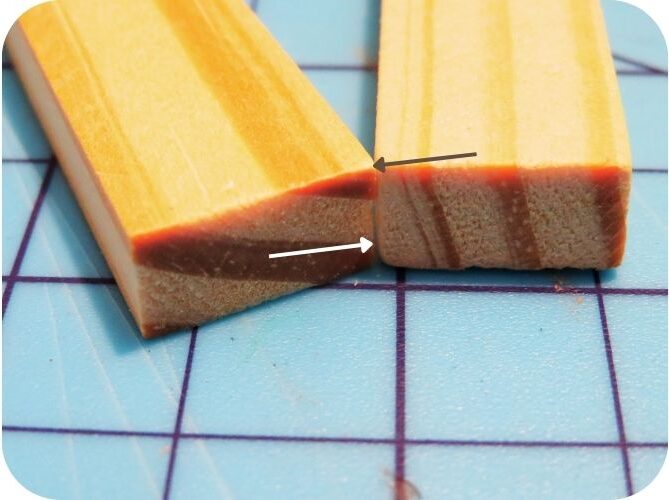
I glued the A together first where the tips touch, then added more glue along the seam at the top.
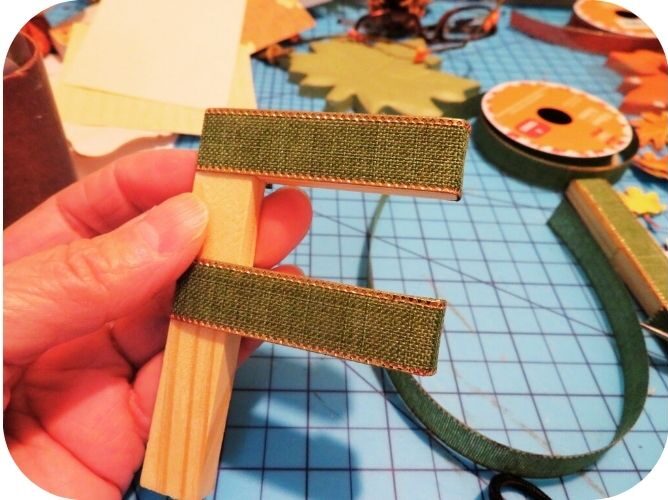
Step 3: Cover Letter Seams With Ribbon
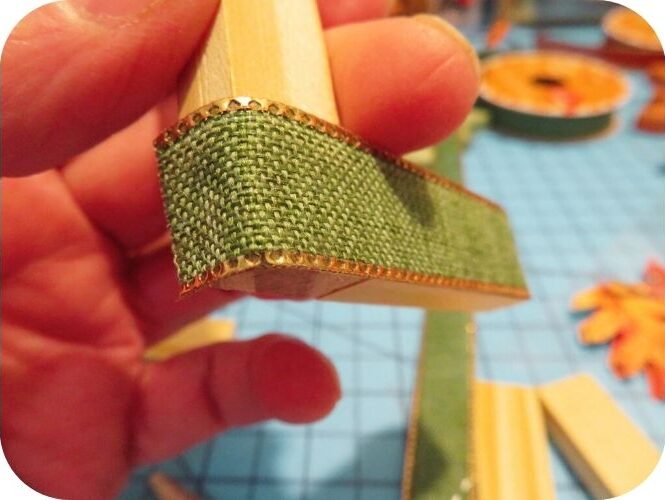
To cover the letters and hide the seams, I used some thin ribbon with gold trim that I got at Dollar Tree. It was the perfect width to cover the blocks and came in 3 different fall colours.
Step 4: Make a Crosspiece for the Letter A
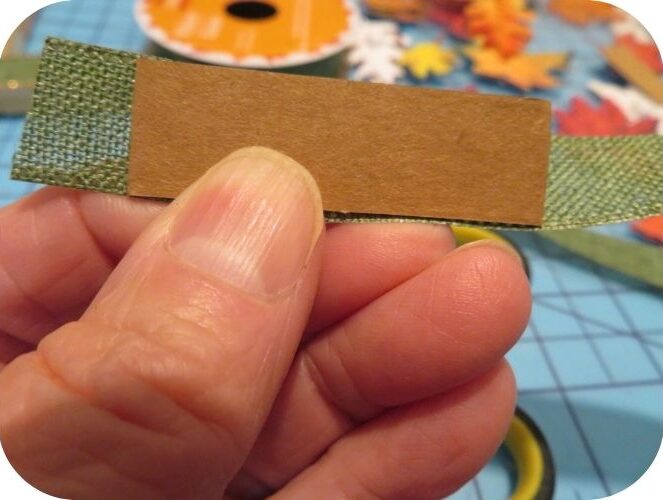
To make a cross piece for the A, I cut a thin piece of light cardboard the same width as the blocks and about 2 inches long and wrapped it in ribbon. I covered the A in ribbon, before gluing this piece to it.
Step 5: Wrap and Glue Ribbon to the Back of The Letters
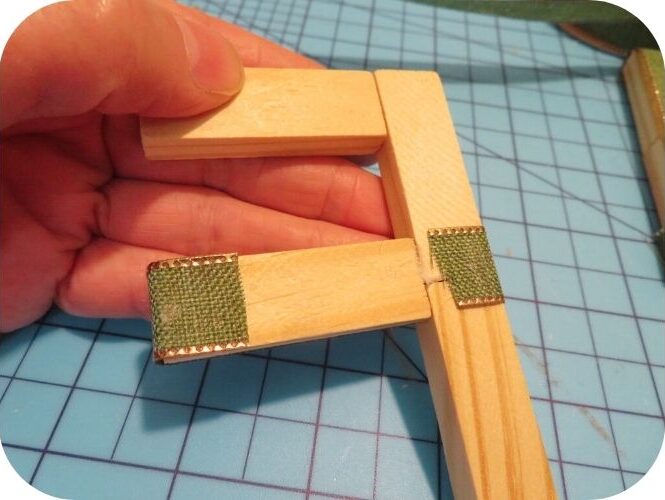
Cut each strip of ribbon long enough to wrap around the back of the blocks and attach it using dots of hot glue only on the ends of the ribbon. That way, you won’t see blobs of glue showing through on the front. Before gluing the second end, be sure that the ribbon is pulled taut, so it lays flat on the front of the letter.
I covered the horizontal angles before adding ribbon to the vertical angle.
Step 6: Decorate Letters with Fall Stickers

Next, I used some 3D stickers to decorate the letters. These letters would be perfect to add to a sign, but I decided to make mine into magnets.
Step 7: Glue Magnets to the Back of Each Letter
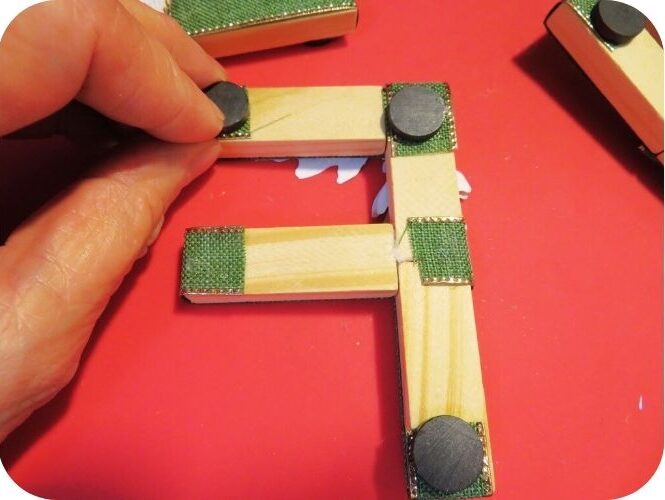
I think I got these small magnets at dollar Tree. They’re pretty strong and were the perfect size for this idea. Three of them are sufficient to hold each letter to a metal surface.
Step 8: Turn Wood Leaves into Fridge Magnets
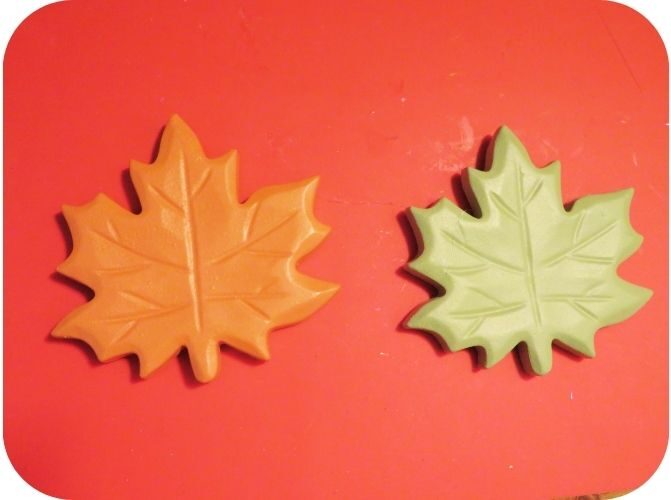
These wood leaves were from wall hangings that I took apart. I thought they would be the perfect accompaniment for my fall letters.
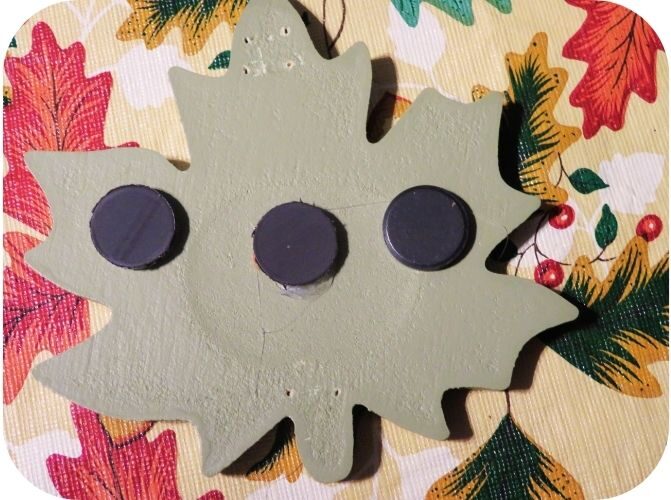
Three of these larger magnets are needed to hold the leaves onto the fridge.
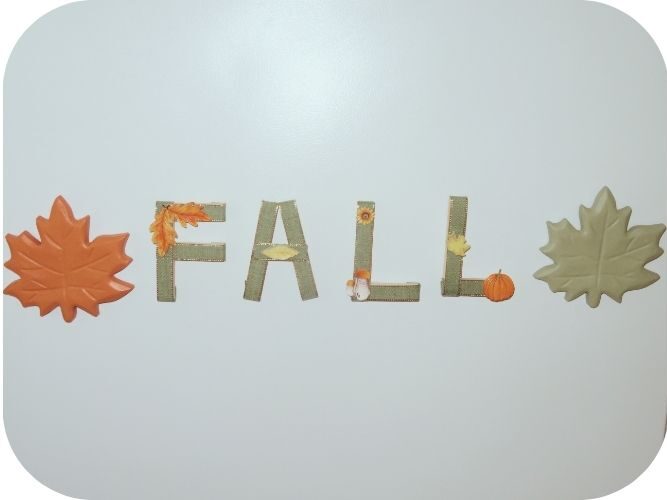
I added the letters and leaves to the side of my refrigerator, as it faces out into my living room.
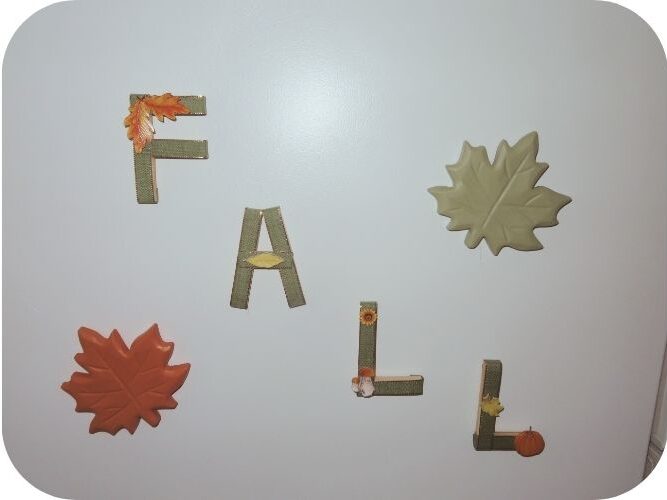
This is a fun way to decorate your refrigerator or any metal surface and the pieces can be configured any way you want. They’re not only useful but highly decorative.
***
If you enjoyed this post, sign up for the Dollar Store Style newsletter. Each month you’ll get a new article, my pick for a Find of the Month, a Quick Tip for Decorating, a Product Review and much more.