
When I was tidying and re-organizing my craft space, I knew one thing for sure: I don’t need any more frames. After gathering frames from various places around the apartment, my storage bin was overflowing with them.
I have all shapes and sizes of frames but I’m drawn to the smaller ones. That and the new small vintage paper pad I recently bought, inspired the following four mini frame ideas for Spring and Easter.
Four Mini Frame Ideas for Spring
I am an Amazon Associate. If you click a link and make a purchase, I will make a small commission at no extra cost to you.
Idea 1 – Bird in Mini Frame
- place setting frame (Dollar Tree)
- wooden bird stickers
- scrapbook paper
- white acrylic paint
- wired vine
- paper or silk flowers
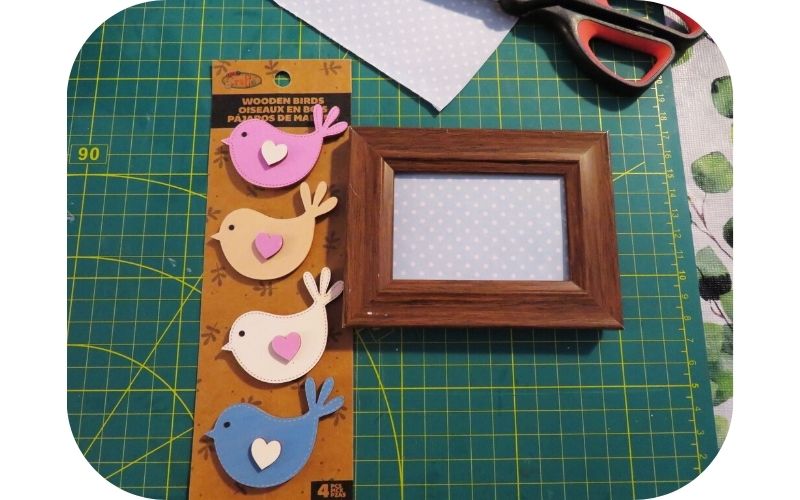
These small frames are readily available at Dollar Tree. I think I found the wood birds at Dollarama, but you can use any spring-themed piece that will fit into the frame. After I’d put a piece of scrapbook paper from my stash into the frame, I realized that the frame didn’t match with the spring vibe I was going for.
Step 1: Sand Frame to Prepare for Painting
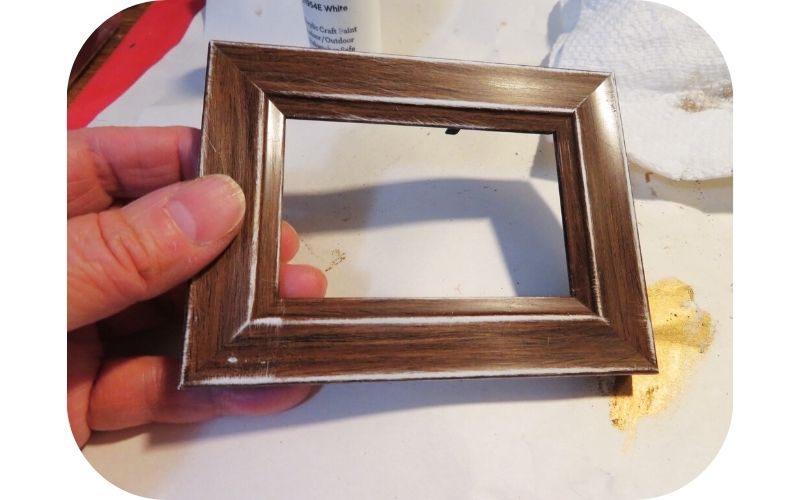
Because this frame wasn’t wood, I took out the backing and used a sanding block to roughen up the surface so the acrylic paint I was using would adhere to it.
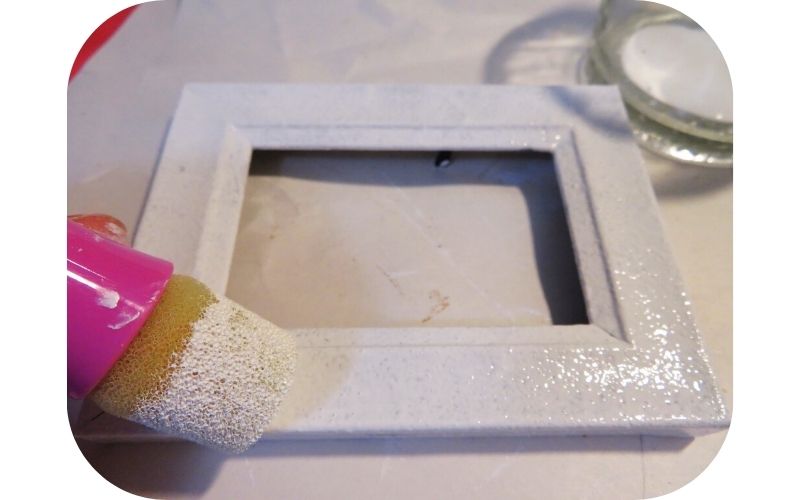
Then I gave it a couple of coats of white paint, using a sponge dauber to get into all of the crevices.
Step 2: Replace Backing and Add Bird Sticker
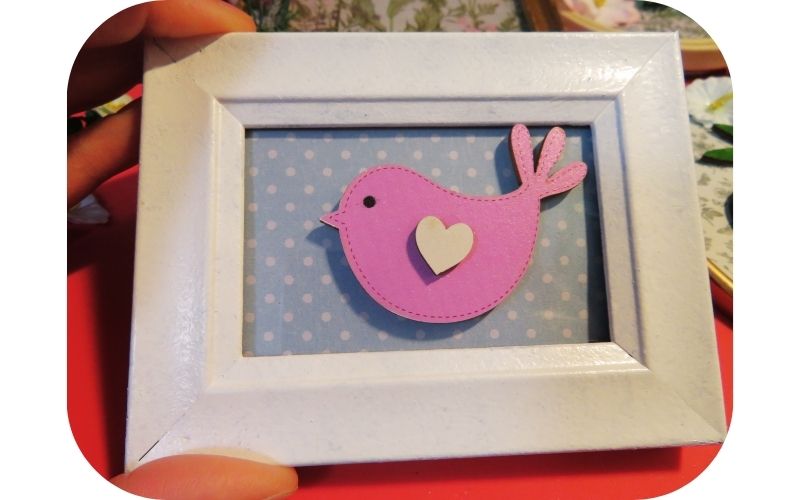
When the paint was dry I replaced the glass and the backing into the frame and added the wood bird directly to the glass. The bird already had a sticker on the back of it.
Step 3: Add Wired Vine to Frame
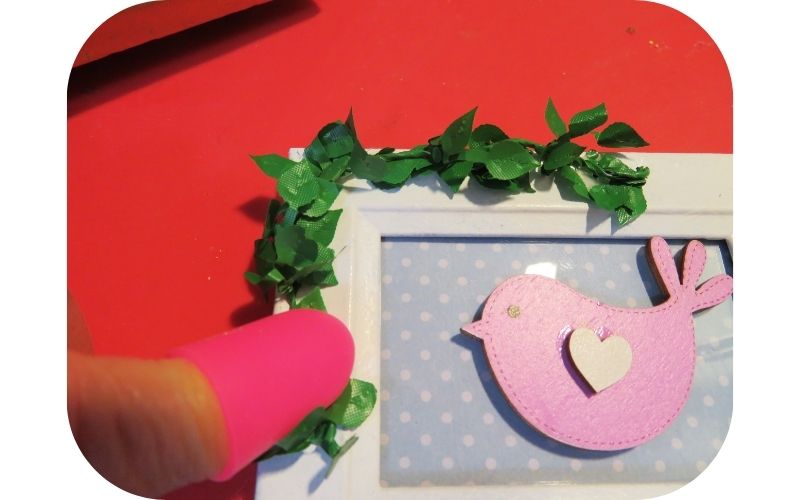
I had some wired vine in my crafting stash and cut a piece to wrap around the left-hand corner of the frame, adding hot glue at the corner and on both ends.
Step 4: Add Small Paper Flowers
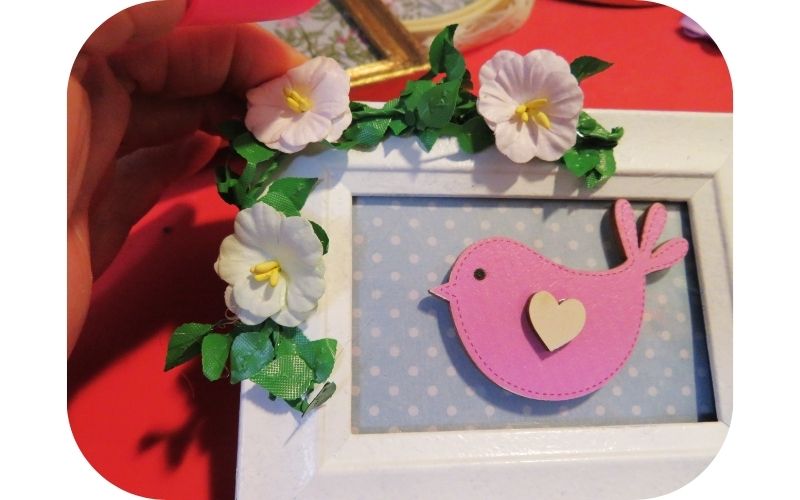
Next, I chose three small paper flowers from my stash and hot glued them at intervals along the vine.
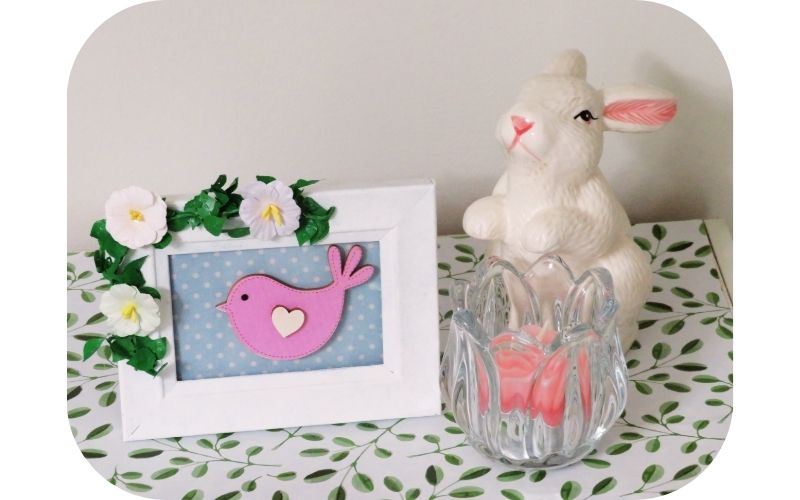
I’m really happy with the spring vibe this little frame evokes. The paper flowers put me in mind of morning glories.
Idea 2: Wood Shape in 4×6 Frame
Supplies Used and Recommendations:
- small white frame
- scrapbook paper
- wood rabbit silhouette
- hot glue
- silicone candy mold
- greenery
- acrylic paints
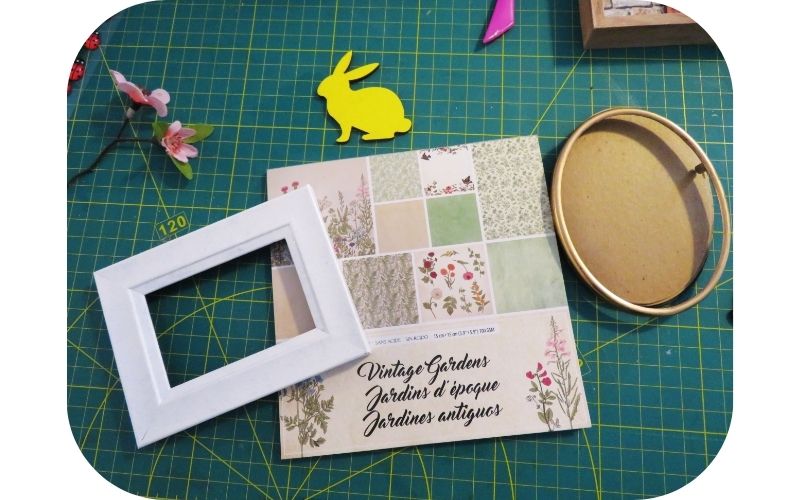
I found this small pad of vintage scrapbook paper at Dollarama. I love the shades of green and the floral designs.
Step 1: Choose Scrapbook Paper
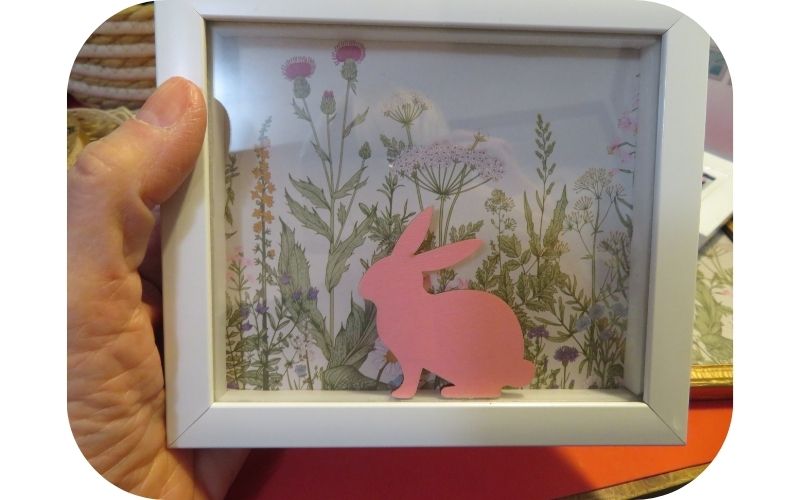
This white frame is about 6 x 5 inches. I chose this wildflower pattern from the scrapbook pad. The bunny is also from my stash. It came as a set of pre-coloured wood pieces from one of the dollar stores.
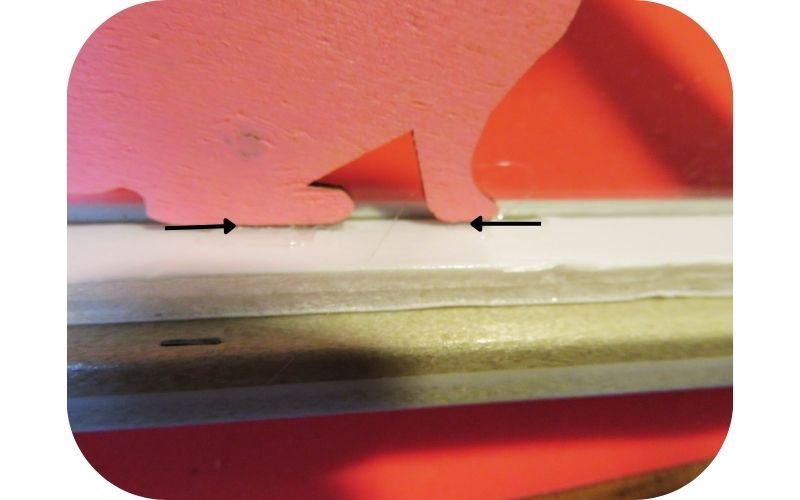
While the wood bunny looks like it’s attached to the glass, I actually decided to hot glue it to the wood ridge inside the frame. Only the bunny’s feet have been glued, which will make it easy to repurpose the frame at a later time, should I want to.
Step 2: Creating Flower Accents Using Hot Glue

This is a silicone candy mold that I found at Dollarama. All I did was fill a few of the flower molds with hot glue. From experience, I have found that it’s better if you don’t fill the molds all the way to the top, but it’s important to make sure the hot glue fills in all around the edges.
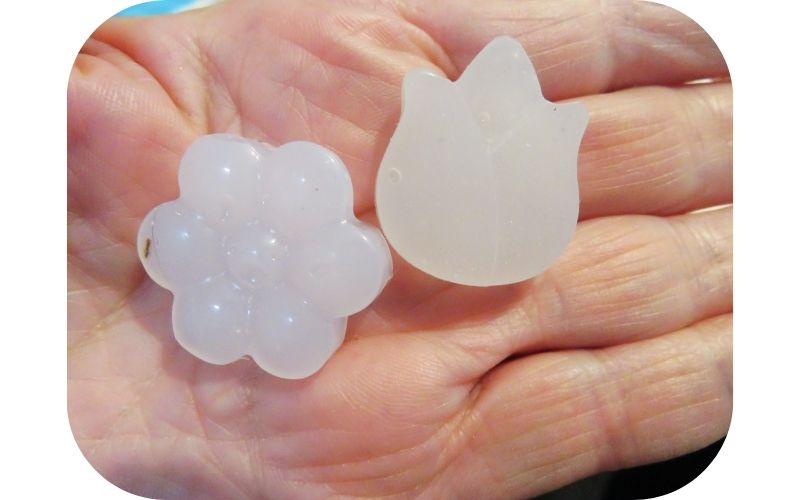
You have to wait until the glue is completely dry before removing the shapes, but it doesn’t take that long and, once dry, they are easily removed. Trim any excess glue bits from around the edges.
You can do this with air-dry clay, too. Shaped ice cube trays are also good for making molds but they’re not as flexible as the silicone candy molds.
And, yes, make sure your molds are clear of debris before adding the hot glue. I wasn’t concerned, as I was going to be painting them anyway.
Step 3: Painting the Molds
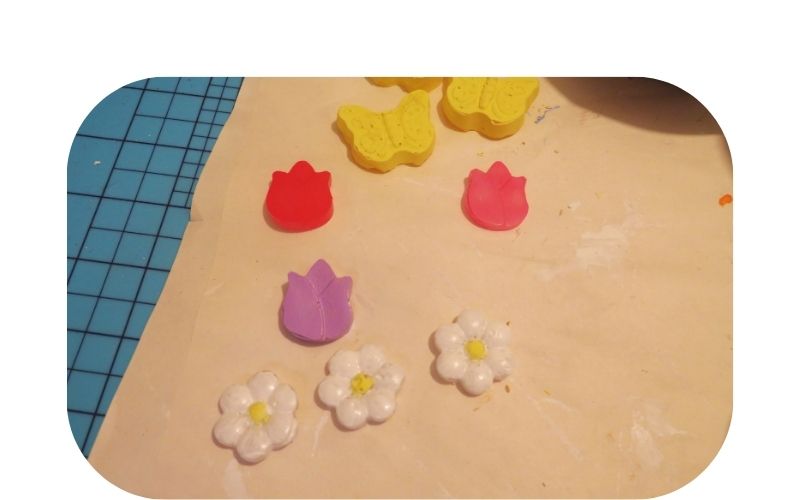
I think I did about three coats of acrylic paint on the wax flowers.
Step 4: Adding Embellishments to Frame
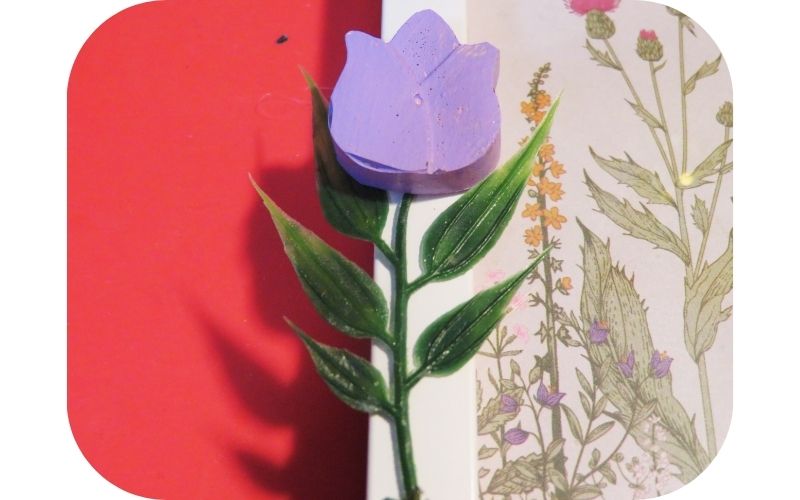
I’ve got a bin where I keep bits and pieces of greenery and I chose a piece to be the stem of the tulip, hot gluing the pieces to the bottom, left-hand side of the frame.
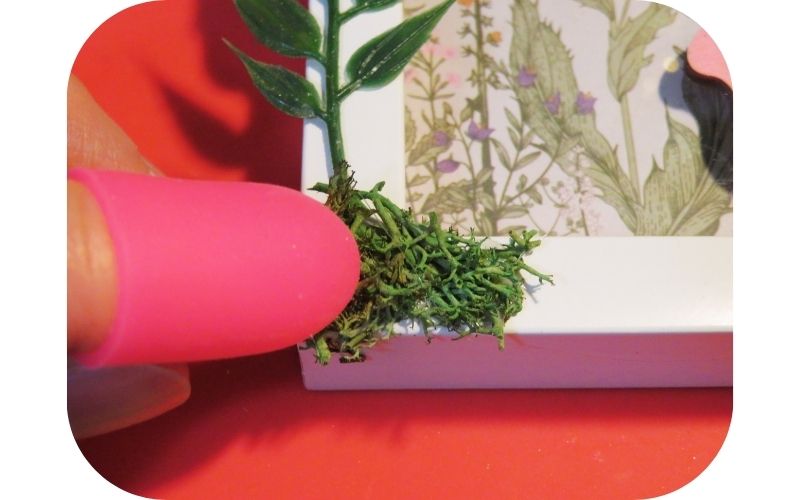
To cover the bottom of the stem, I added a small amount of reindeer moss.
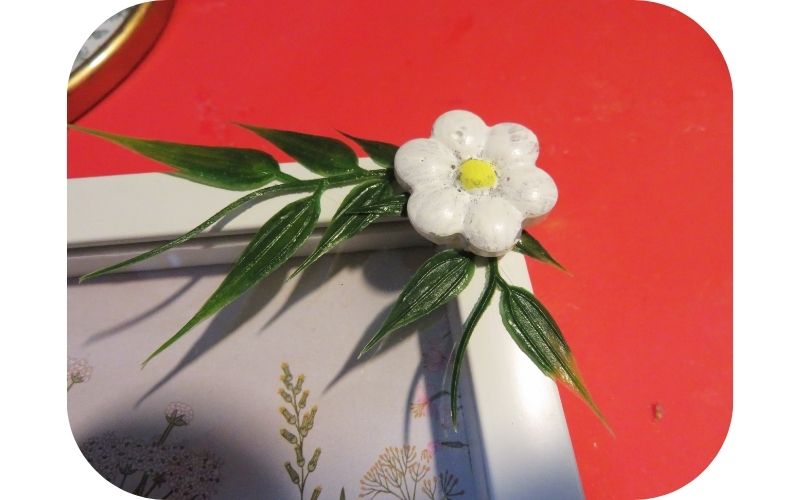
Then I added some greenery and one of the daisies to the top, right-hand side of the frame.

This pretty scrapbook paper could be used as art on its own, but the addition of a few simple embellishments makes it a lovely decor piece for the Easter/Spring season.
Idea 3 – Using a Vintage Oval Frame
Supplies Used and Recommendations:
- small oval frame
- floral scrapbook paper
- wood rabbit silhouette
- thin crochet lace

I remember this frame from my childhood, and yes, that was some time ago. I love the shape of it. The frame still has its backing pieces, but is missing the glass, which is not a problem. I did, however, give this slightly dingy vintage frame a touch-up with some gold rub and buff. Gold metallic paint would work, too.
Step One – Cut and Add Scrapbook Paper
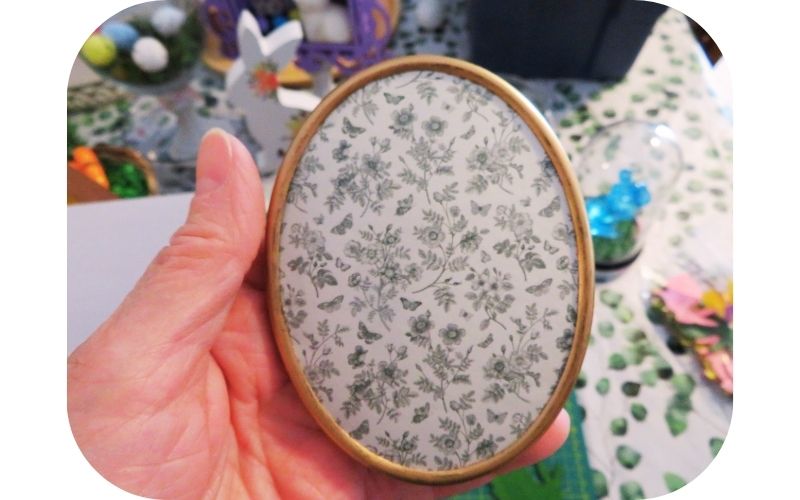
I think this scrapbook paper, with its delicate floral print, is my favourite from the new paper pack and suits this vintage frame perfectly.
Step 2: Add Wood Shape
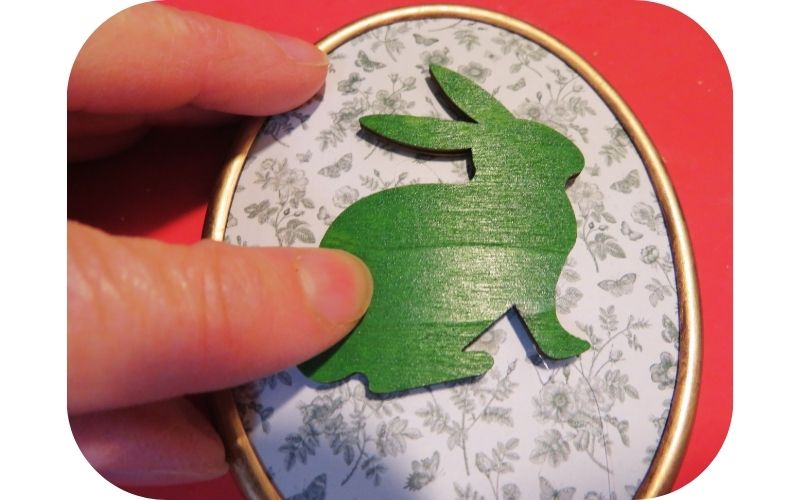
I again used one of the coloured bunnies from my stash, hot gluing it to the middle of the frame. This reminds me of a silhouette, which was very popular in Victorian times. If I wasn’t making this frame for Easter, I would paint the rabbit black to mimic that look.
Step 3: Add Lace Hanger and Bow
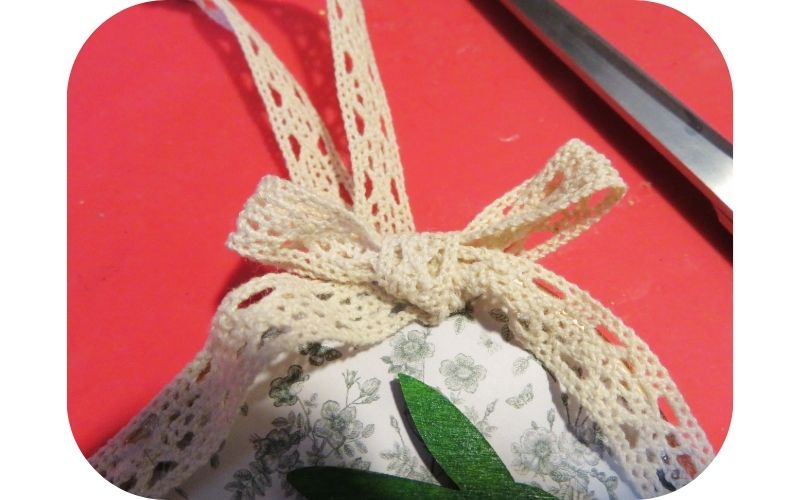
I didn’t want to do much else to this frame, so opted for adding a crocheted lace hanger and bow to it, adding further to the Victorian vibe.
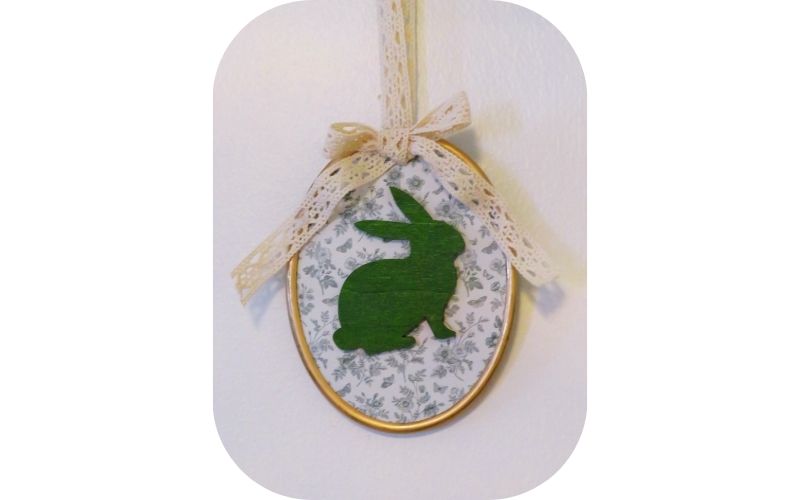
I love the way this looks and hung it on a narrow section of wall in my apartment.
Idea 4 – An Embroidery Hoop Frame
Supplies Used and Recommendations:
- 4″ round embroidery hoop
- scrap cardboard
- vintage scrapbook paper
- glue stick
- paper flowers
- greenery
- thin crochet lace
Step 1: Make a Backing for the Embroidery Hoop
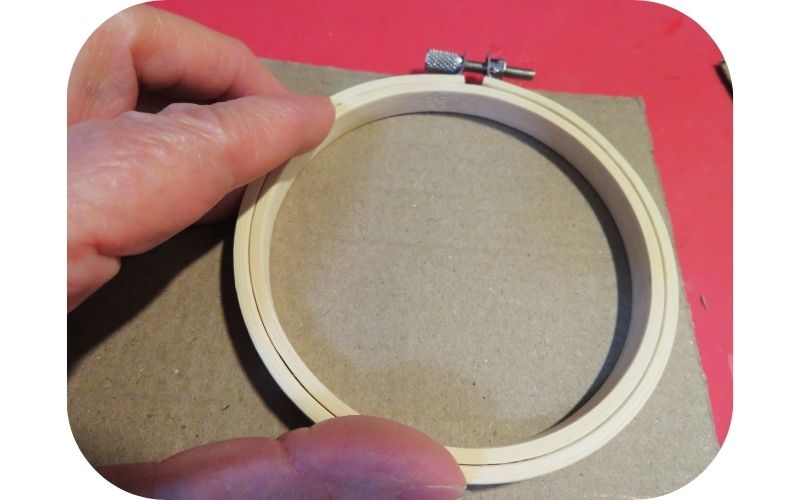
I had this 4″ embroidery hoop left over from a package of three different sizes. To make it into a frame, I started by cutting a piece of light cardboard to size. I like to save the cardboard inserts that come with new calendars for things like this.
Step 2: Glue Scrapbook Paper to Backing
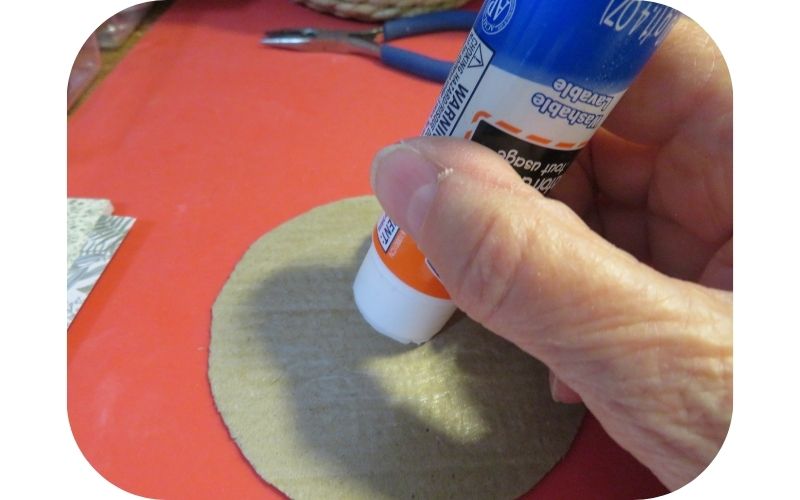
I used a glue stick to attach a piece of scrapbook paper to the new backing…
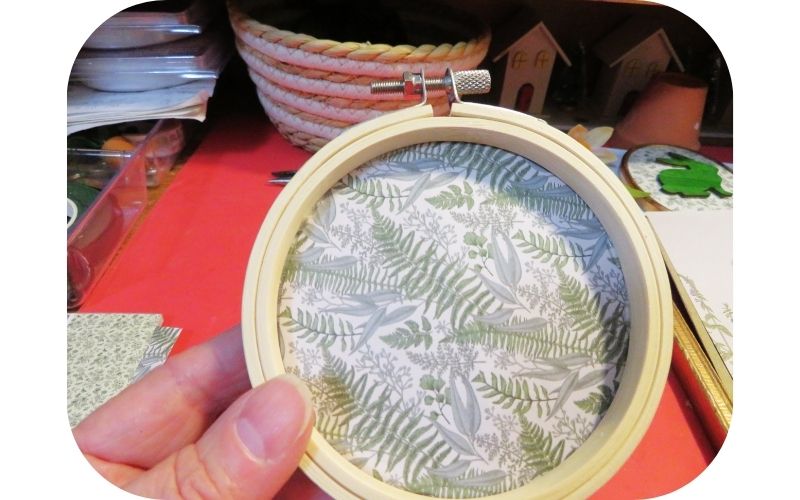
…and glued the backing to the embroidery hoop, trimming any excess cardboard from around the edges. I think you could potentially do this for any size of embroidery hoop.
Step 3: Add Greenery and Flowers
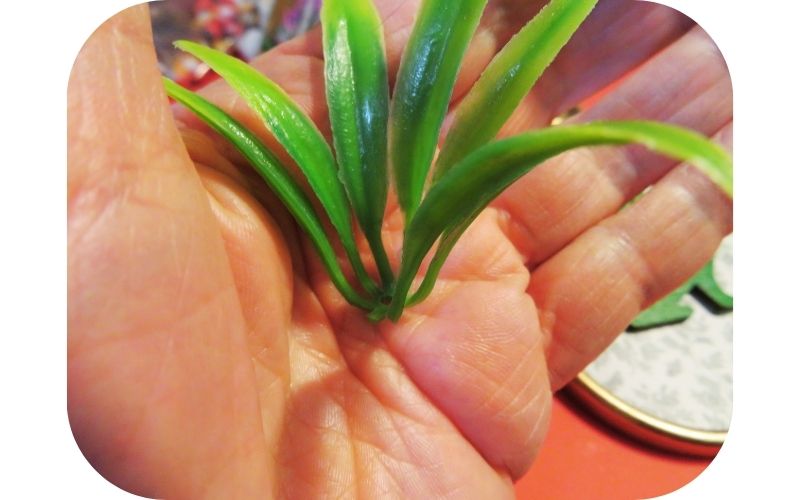
I found these attached greenery fronds in my collection of odds and ends…
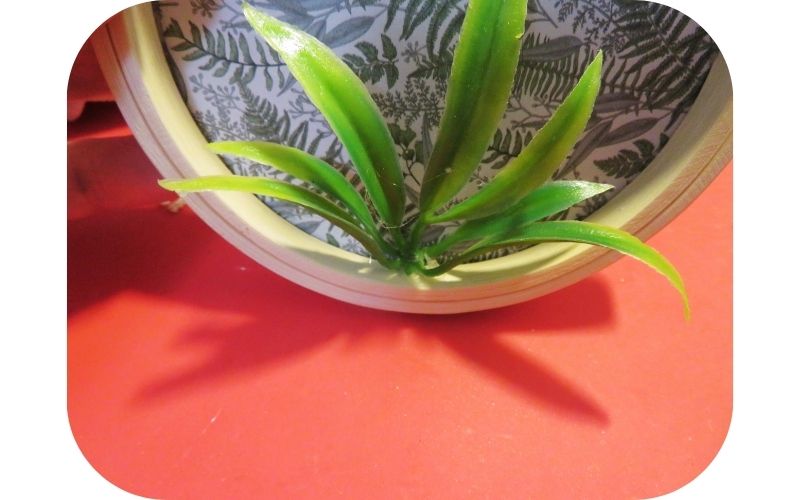
…and hot glued it to the bottom rim of the embroidery hoop.
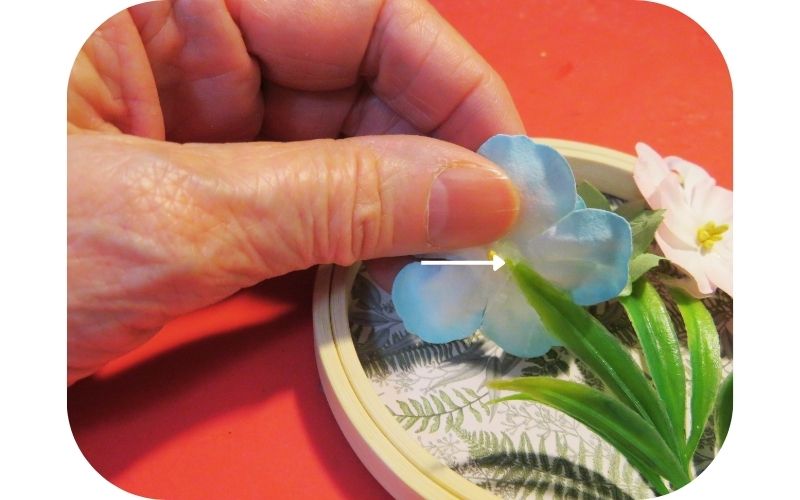
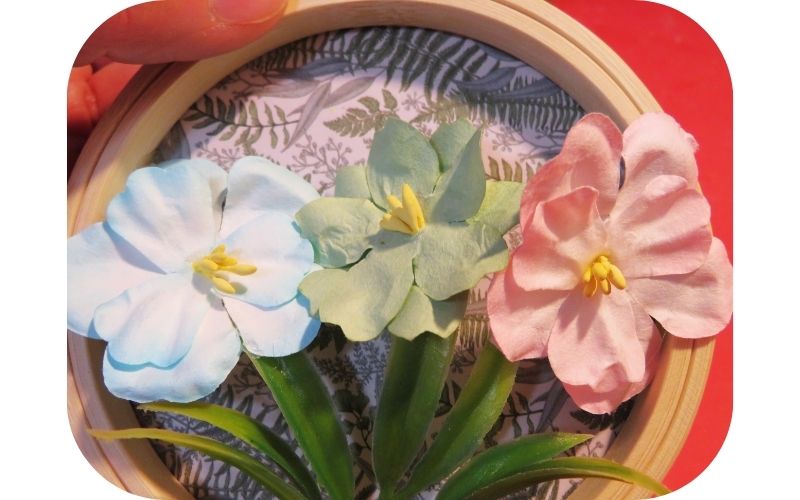
Next, I chose three of the larger paper flowers and glued them to individual fronds.
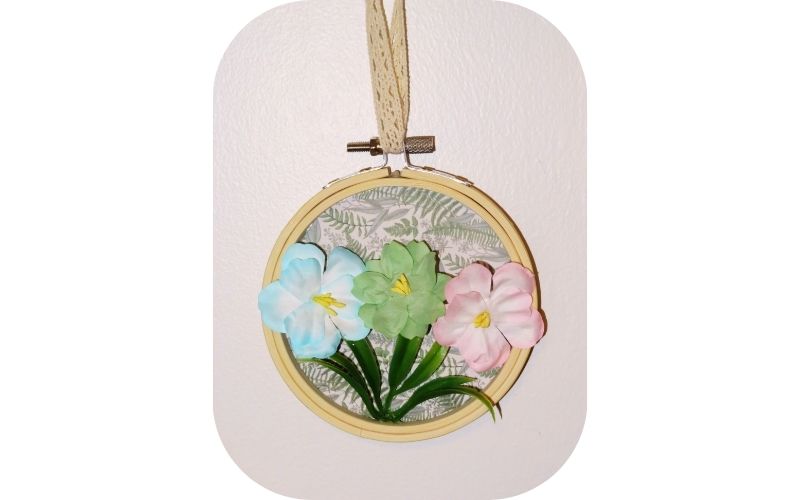
I again used a piece of crocheted lace as a hanger to make a unique piece of art to add to a wall.
The first two frames will stand on their own, so would be perfect for a tiered tray. Let me know which of these four pieces was your favourite.
