
Autumn and Thanksgiving
Upcycle the Foam Pumpkins in Your Stash
I don’t know about you, but every time I open up a bin of seasonal decor, I wonder how I ever managed to accumulate so much stuff! Well, we do know, don’t we? You go to the dollar store, see new things you love and bring them home. This fall season, I determined to make do with a few of the things I already had on hand. (And donated some, too!)
Maybe, like me, you have a few of those large sized foam pumpkins the dollar stores sell. I had three usable ones. Here’s how I upcycled them and how you too can upcycle the foam pumpkins in your stash.
Supplies Used (all from my stash):
- 3 – 5″ foam pumpkins
- orange acrylic paint
- thick wood pieces
- assorted fall stems
- moss
- faux leaves
- hot glue
Pumpkin #1
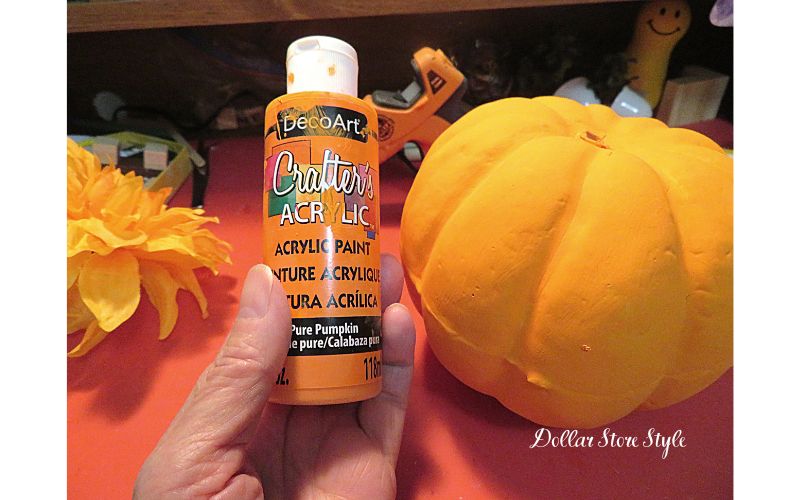
The first thing I did was to give each of my pumpkins a fresh coat of acrylic paint using a foam brush. Being a traditionalist, I chose Pure Pumpkin. Besides, it took a lot less paint to cover the already orange pumpkins.
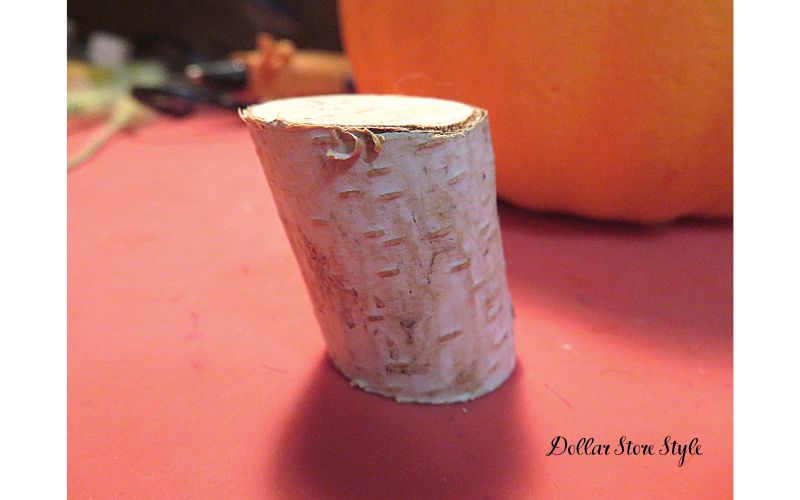
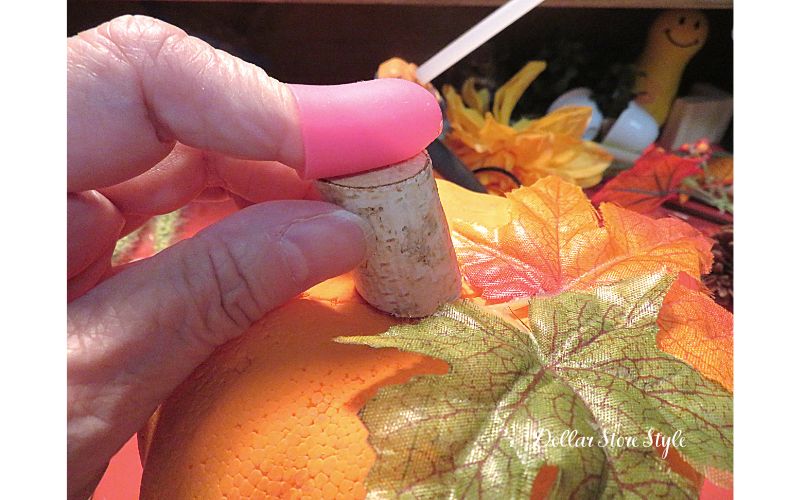
None of the pumpkins had their original stems. I dug into my stash and found these wood pieces that I got from Dollar Tree at some point. The ones I used are about 1-1/2 inches tall by about 1 inch across. I deliberately chose the ones that were cut on a slight angle.
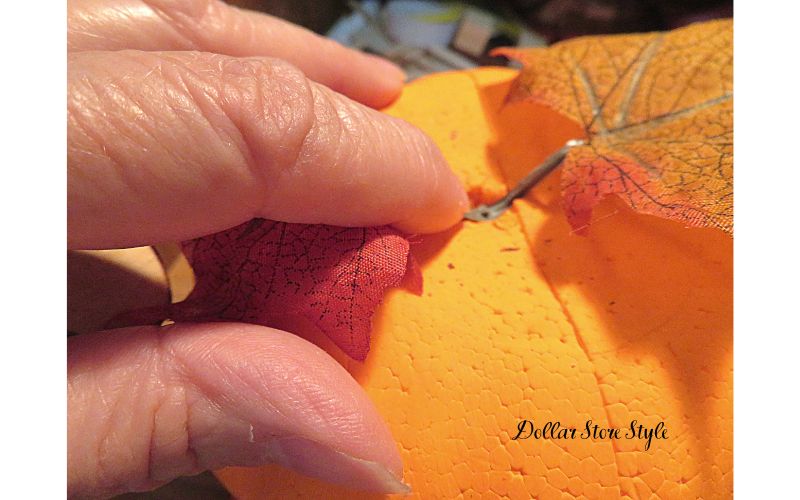
For the first pumpkin, I used a pair of leaves from a stem that were still joined and hot glued them to the top of the pumpkin. If the fabric leaves in your stash are a bit creased, here’s a tip I learned from Jamie, The Crafty DIY Guy on YouTube. Just use your heat gun, or in my case, a blowdryer, to smooth them out.
It only takes a couple of seconds of holding the heat over the leaf and it works like a charm! Thanks, Jamie!

Next, I hot glued the new stem between the leaves.
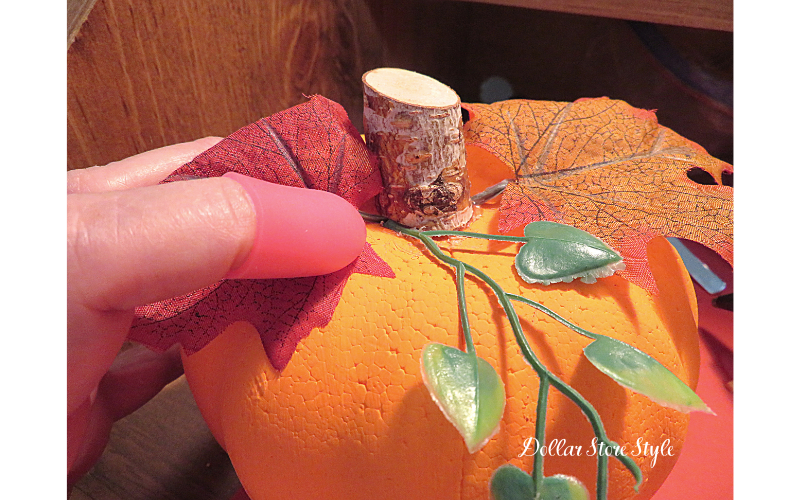
There was a bit of faux greenery on my work desk, so I thought I’d add it to the pumpkin as a trailing vine.
Pumpkin #2

For the second pumpkin, I separated a pair of leaves and hot glued them together on one side of the pumpkin…
…added the new stem…

...and some moss around the centre to finish.
Pumpkin #3
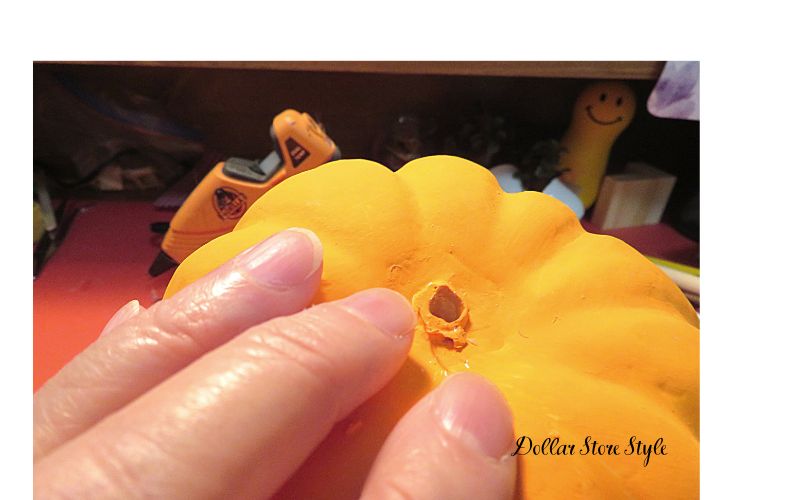
The third pumpkin had a bigger hole in the top, which I enlarged slightly to hold some fall florals.

I left about a 2-inch stem on this pair of leaves with berries and inserted it into the top of the pumpkin.

I found a pinecone on a short stem and put that in behind the leaf stem, so as not to hide the berries.
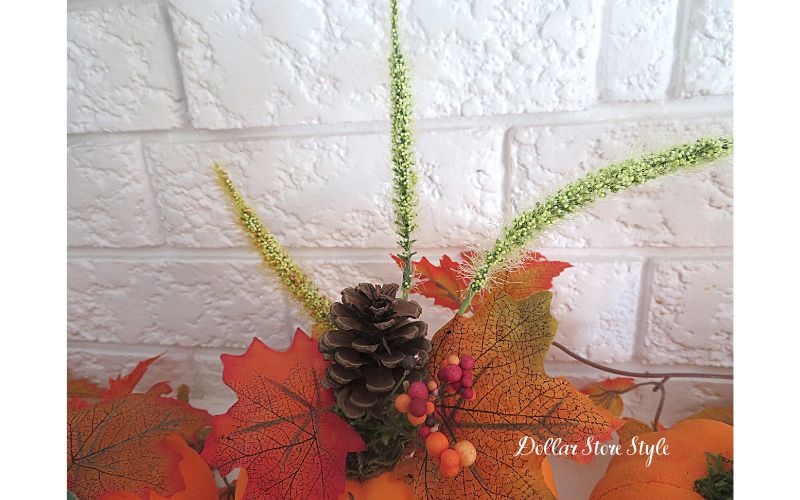
Then, I finished the arrangement with three spiky stems I found at the bottom of my fall craft bin and added them at intervals around the back of the leaves. I then hot glued some moss around the bottom of the stems.

Here’s how I styled my “new” pumpkins on my mantle. I used a small Terra Cotta tray that I inverted to give the centre pumpkin centre stage, so to speak.
I’m no great hand at arranging florals, but I was rather pleased with the way this turned out. What do you think?
***
If you enjoyed this post, sign up for the Dollar Store Style newsletter. Every month, you’ll get a new article, my pick for a Find of the Week, a Quick Tip for decorating, a Product Review and much more.