Nature inspires us. It’s no wonder that we want to incorporate elements of it into our home decor. When I found large sized flower and leaf stickers at the dollar store, I grabbed up several packages. I particularly like leafy designs, so I’m using those for these projects.
Here’s how to use the large fern stickers from Dollar Tree and frames from your stash, to create soothing botanical wall art for your home.
Botanical Wall Art
I am an Amazon Associate. If you click on a link and make a purchase, I will make a small commission at no extra cost to you.
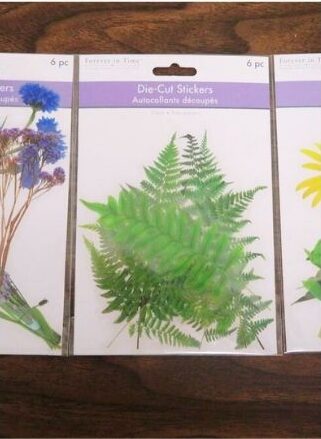
I found these fern stickers at Dollar Tree in the Crafter’s Square aisle.

There are six different designs in a package. I think I ended up buying three packages of these so I’d have duplicates of the ferns I particularly liked.
Project 1: Botanical Pair
Supplies Used and Recommendations:
- black 8 x 10 frame
- flexible cutting mat
- scrapbook paper
- die cut fern stickers
- 1/4″ square dowels
- hot glue and wood glue
- tape roller
Step 1: Choose a Frame
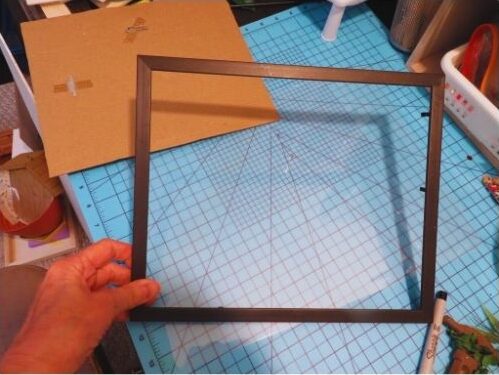
I had this 8 x 10 inch frame in my collection that had seen better days. The glass was missing, but the frame itself was still in good shape. I’ll be using it horizontally.
Step 2: Remove Backing Tabs
As most of the tabs were missing, I removed the remaining ones with some pliers.
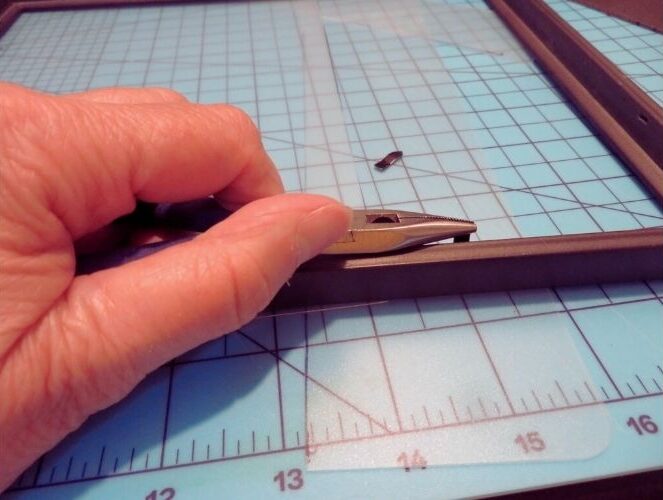
Step 3: Trace Frame Backing onto Cutting Mat
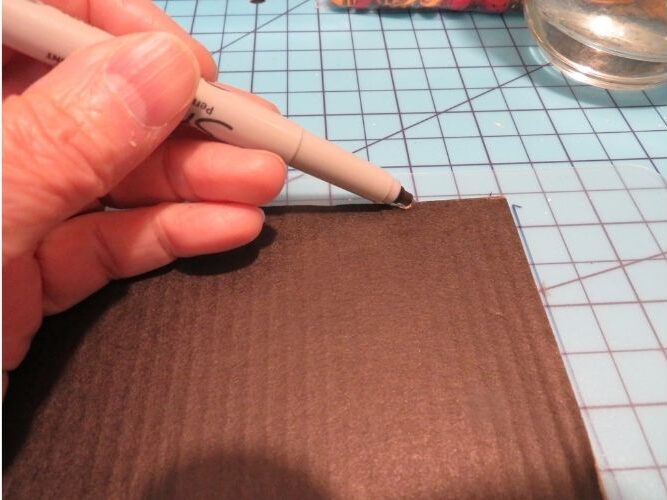
I used the frame’s original backing to trace the shape onto a flexible cutting mat using a Sharpie marker. The backing will not be used in the final project. Then I glued the cutting mat into the frame using hot glue.
Step 4: Add Square Dowels to Back of Frame
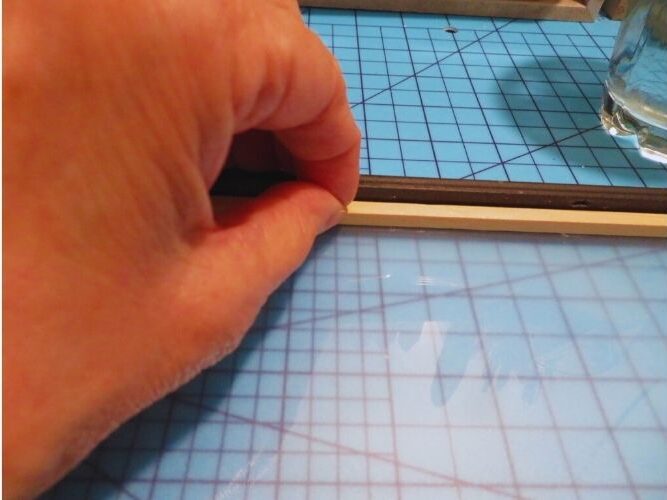
The hot glue wasn’t giving me a good hold, so I added some 1/4 inch dowels from my stash on top of the cutting mat, around the inside edge of the frame. I used wood glue here to ensure a strong hold.
In retrospect, I should have painted the dowels black to match the frame first, but they don’t show in the finished project.

I used clips to hold the wood dowels in place until the glue was fully dried.
Step 5: Cut Two Pieces of Scrapbook Paper and Attach Fern Stickers

I cut two pieces of scrapbook paper 5-1/2 by 3-3/4 inches. I’ve had this scrapbook paper in my stash for ages and thought it made a good background for the fern stickers. These stickers take a bit of patience to use, as it is a bit challenging removing the backing from them.

I used a tape roller to attach each piece to the front of the frame, making sure to centre them in the middle of the frame. I’m not doing anything more to this, as I like the way the green leaves pop against the plain background.
Project 2: Botanical Trio
Supplies Used and Recommendations:
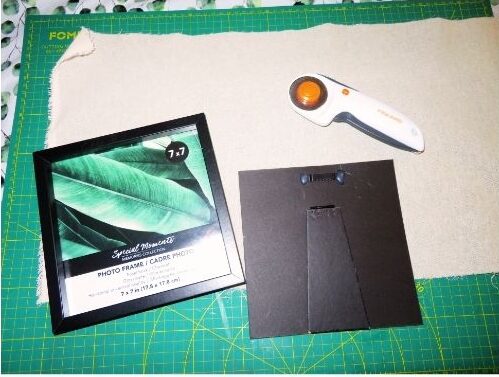
Lately, I’ve been trying to use up some craft supplies I’ve had on hand for a while and came across three 7 x 7 inch square frames. They were found at Dollar Tree. I had a small piece of this beige fabric on hand that I wanted to use as a background for the ferns, but it was only large enough for one frame. Fortunately, I was able to find more of the same at a local fabric store.
Step 1: Cut Fabric to Fit Frames


I place the backing of one frame onto the fabric and used my roller cutter to cut three pieces of fabric about a quarter inch larger than the frames.
Step 2: Place Fabric and Backing Into Each Frame
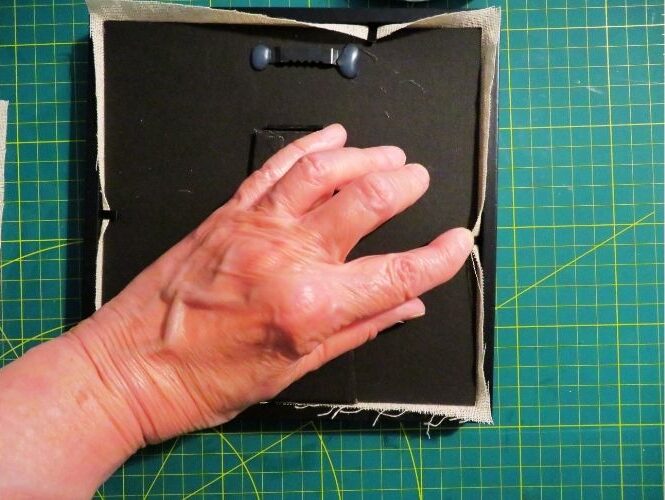
Okay, here’s where I made things more difficult than they needed to be. I put the fabric into the frame and placed the backing in place, closing the tabs over the excess. Then I used some small scissors to cut off the excess fabric.
Don’t do that. Instead, place a dot of hot glue in each corner of the frame backing and cover it with the fabric. Use just enough glue to hold the fabric in place. Now, trim the excess fabric from around the backing before replacing it in the frame. Easier, right? Make sure there are no loose strands of fabric on the backing that will show through the glass.
Step 3: Add Fern Stickers to Front of Frame

I liked this fern shape, but thought it was two small to properly fill the frame. That’s when the extra packages of die-cut stickers came in handy. I found the duplicate design and used it to complete this artwork.
Three Ferns Art
Here’s how each of my three botanical prints turned out.


I had to take this picture at an angle to avoid glare from the lights. This fern trio goes well in my botanical-inspired bathroom. Since the stickers are applied directly to the glass, I’ll be able to easily remove them and reuse the frames sometime in the future when I’m ready for another change.
***
If you enjoyed this post, sign up for the Dollar Store Style newsletter. Each month you’ll get a new article, my pick for a Find of the Week, a Quick Tip for decorating, a Product Review and much more.