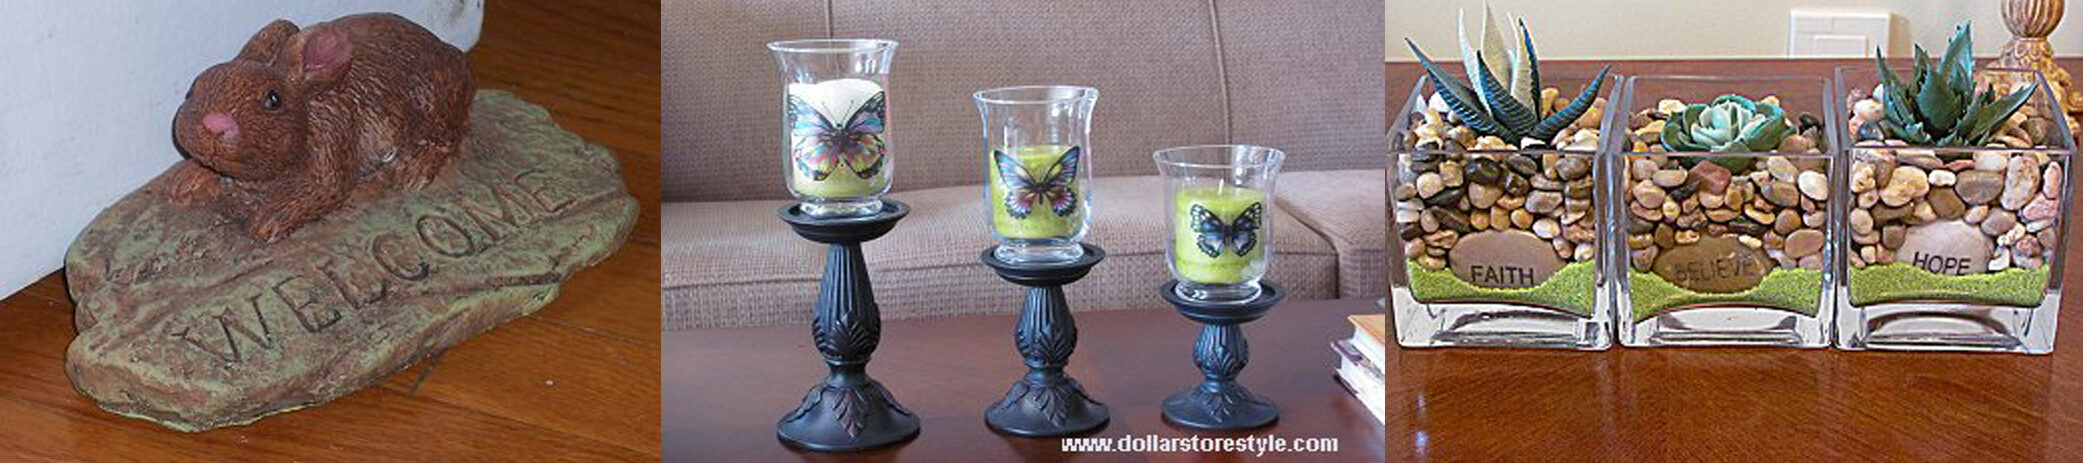
I love that you can find all manner of colours and patterns of chargers at Dollar Tree. They even have rectangular ones. I would have called them trays but, as they aren’t food safe, calling them chargers was probably a better call. And you can do so much more with them than using them to pretty up your place settings! Here are two ideas for creating beautiful home decor using Dollar Tree charger plates.
Beautiful Home Decor Using Dollar Tree Charger Plates
I am an Amazon Associate. If you click on a link and make a purchase, I will make a small commission at no extra cost to you.
Idea 1: Wall Art Hack
Supplies Used and Recommendations:
- 2 rectangular charger plates
- spray paint (optional)
- sheet of wall stickers (Dollar Tree)
- Velcro Command hangers
Step 1: Paint Charger or Leave Plain
You can leave these chargers their original colour or spray paint them to better suit the images you want to use.
Step 2: Choose Wall Stickers
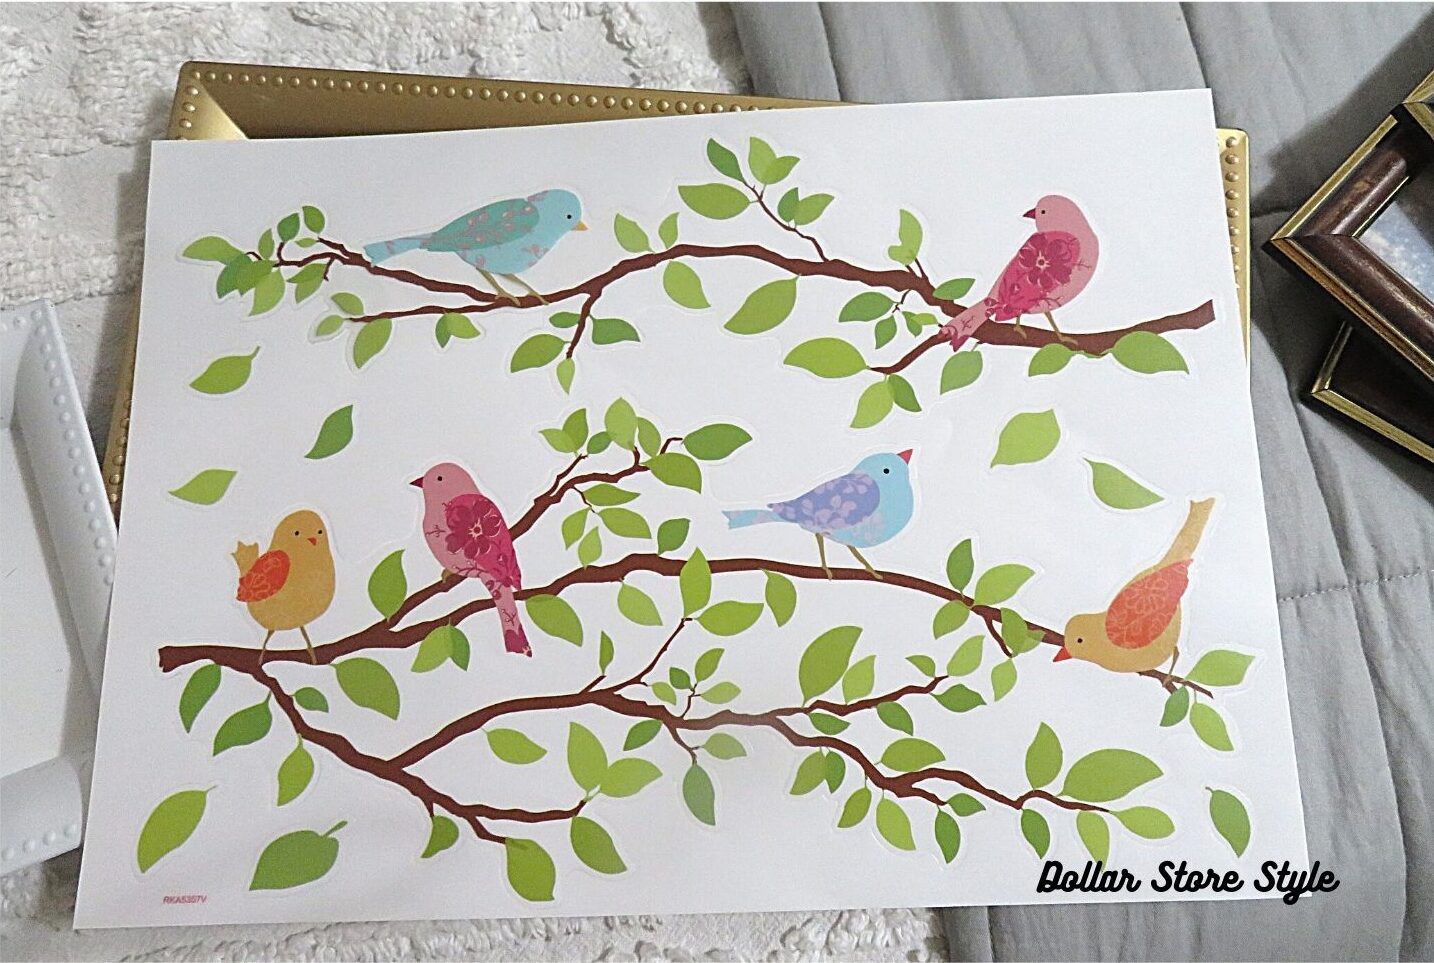
I’ve actually had these dollar store wall stickers in my stash for a while. They come off the backing in two long pieces, which is perfect for this idea.
Considering how good the stickers looked on the white background, I decided to spray paint the two charger plates white.
Step 3: Apply Wall Stickers to Charger Plates
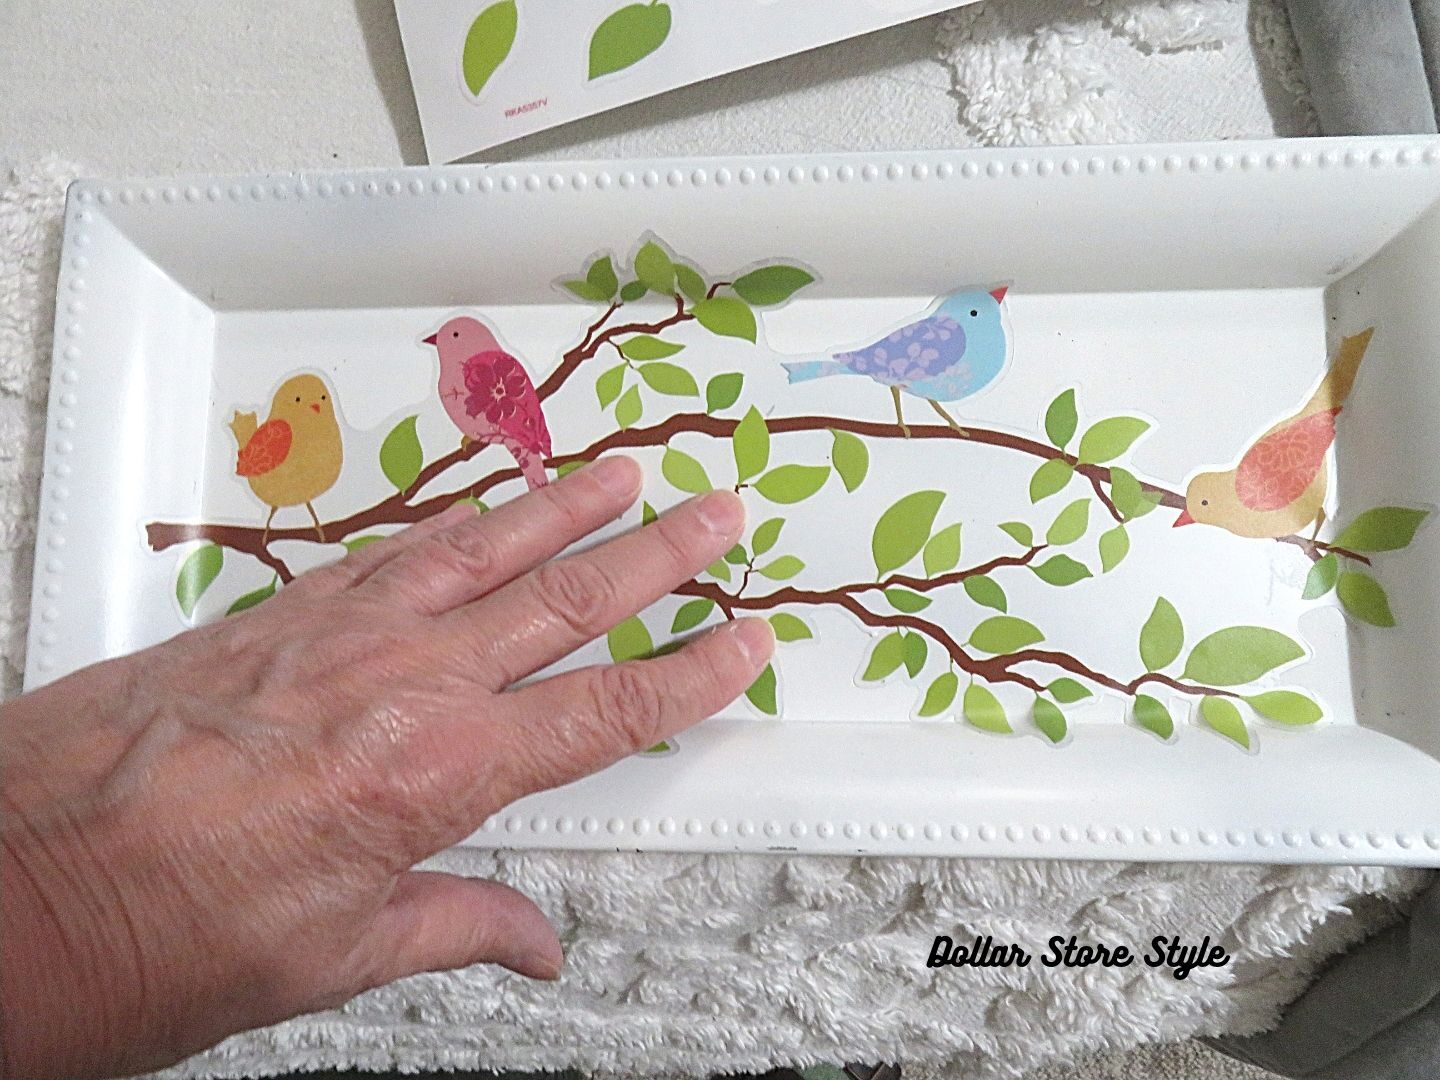
Then, it was a simple matter to remove each long wall sticker and centre them on the charger plates. You can seal the entire piece with Mod Podge but I didn’t think it was necessary. Besides, sometime down the road, I may want to reuse these chargers for another project.

I placed the individual leaves that came with this set around the second image to help fill in some of the bare spots as this image isn’t as full as the first one. You can hang these on the wall using the Command velcro hangers or add a rope hanger to the back and hang them on nails.
Depending on the images you’re using, you could also hang these on the wall vertically. I’ve thought about using this idea to display favourite photographs, too.
I love the way my new decor looks on my kitchen wall!
Idea 2: Charger Plus Mirror Equals…
This isn’t a new idea by any means, but I thought I’d show you my version.
Supplies Used and Recommendations:
- round charger plate (Dollar Tree
- an 8-inch round mirror
- Gorilla Glue or E-6000
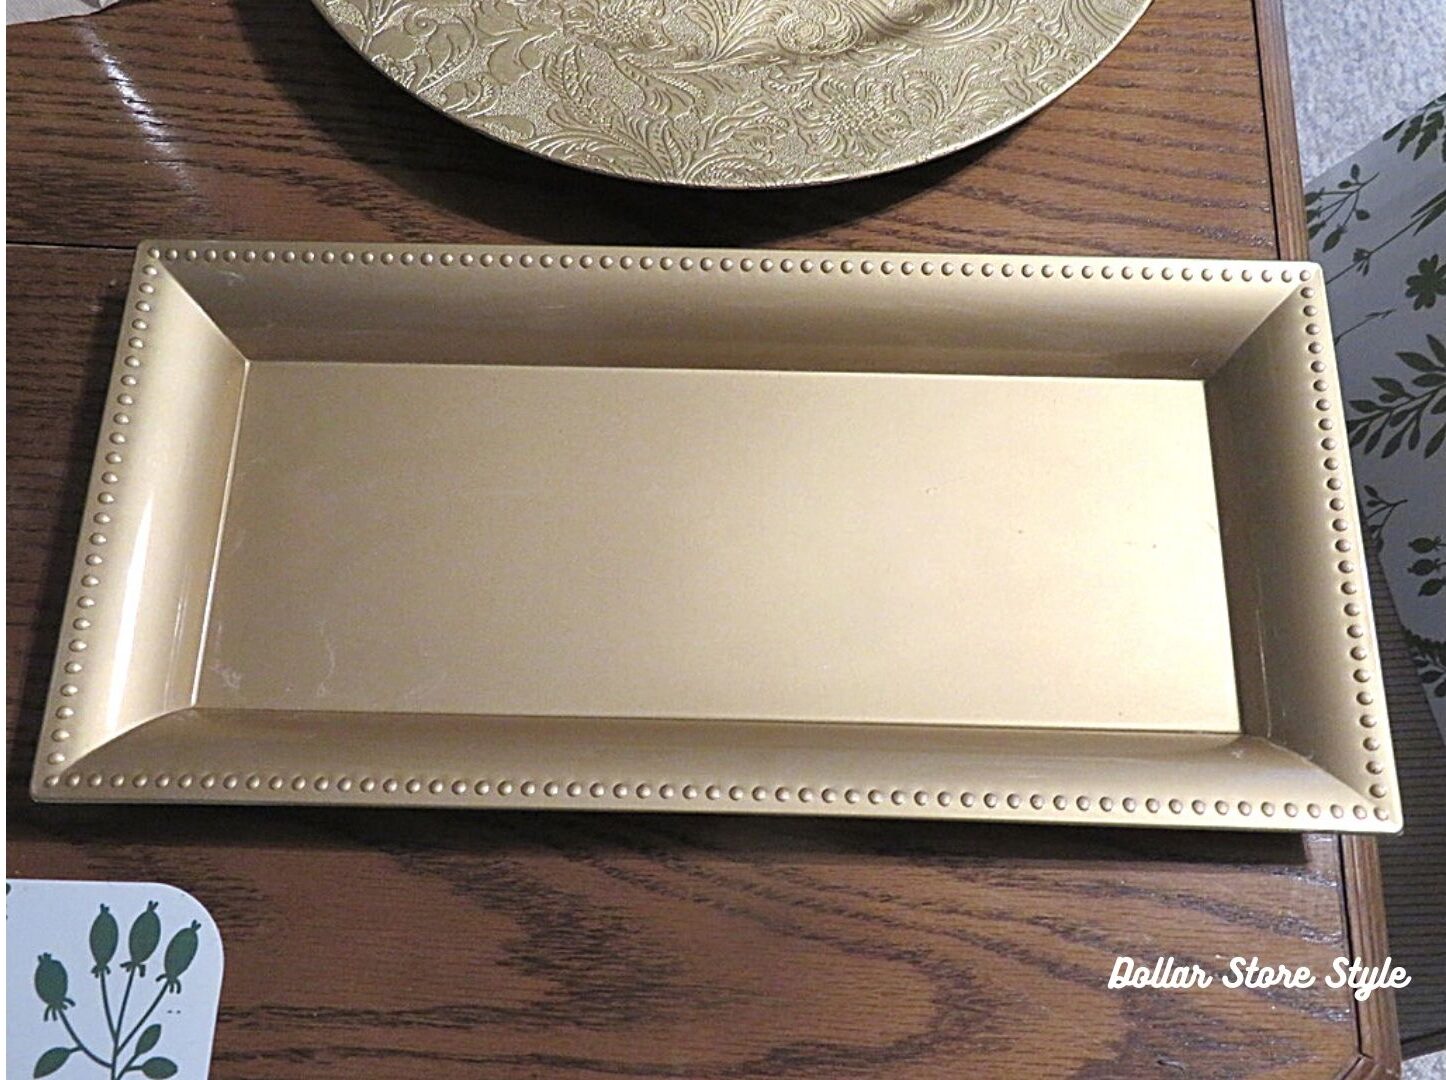
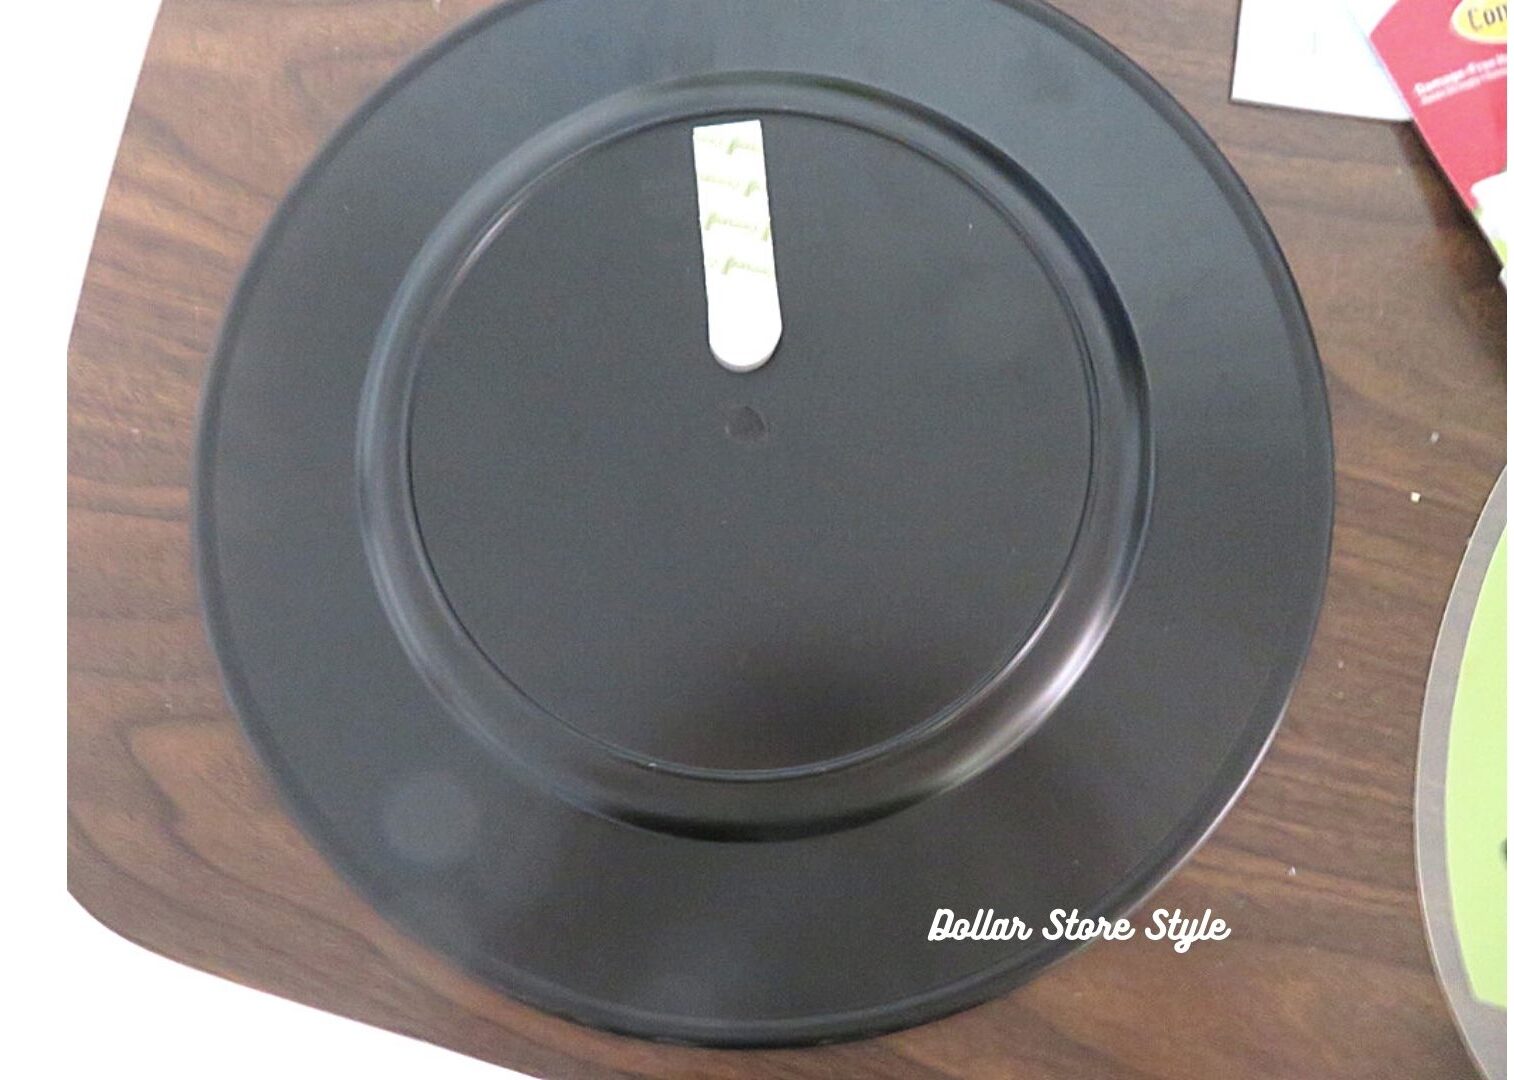
Step 1: Choose a Charger Plate

I thought I’d be using the pretty embossed plate, but decided that the fluted edges of the one pictured behind it suited this idea better.
Step 2: Attach Mirror to the Middle of the Charger Plate
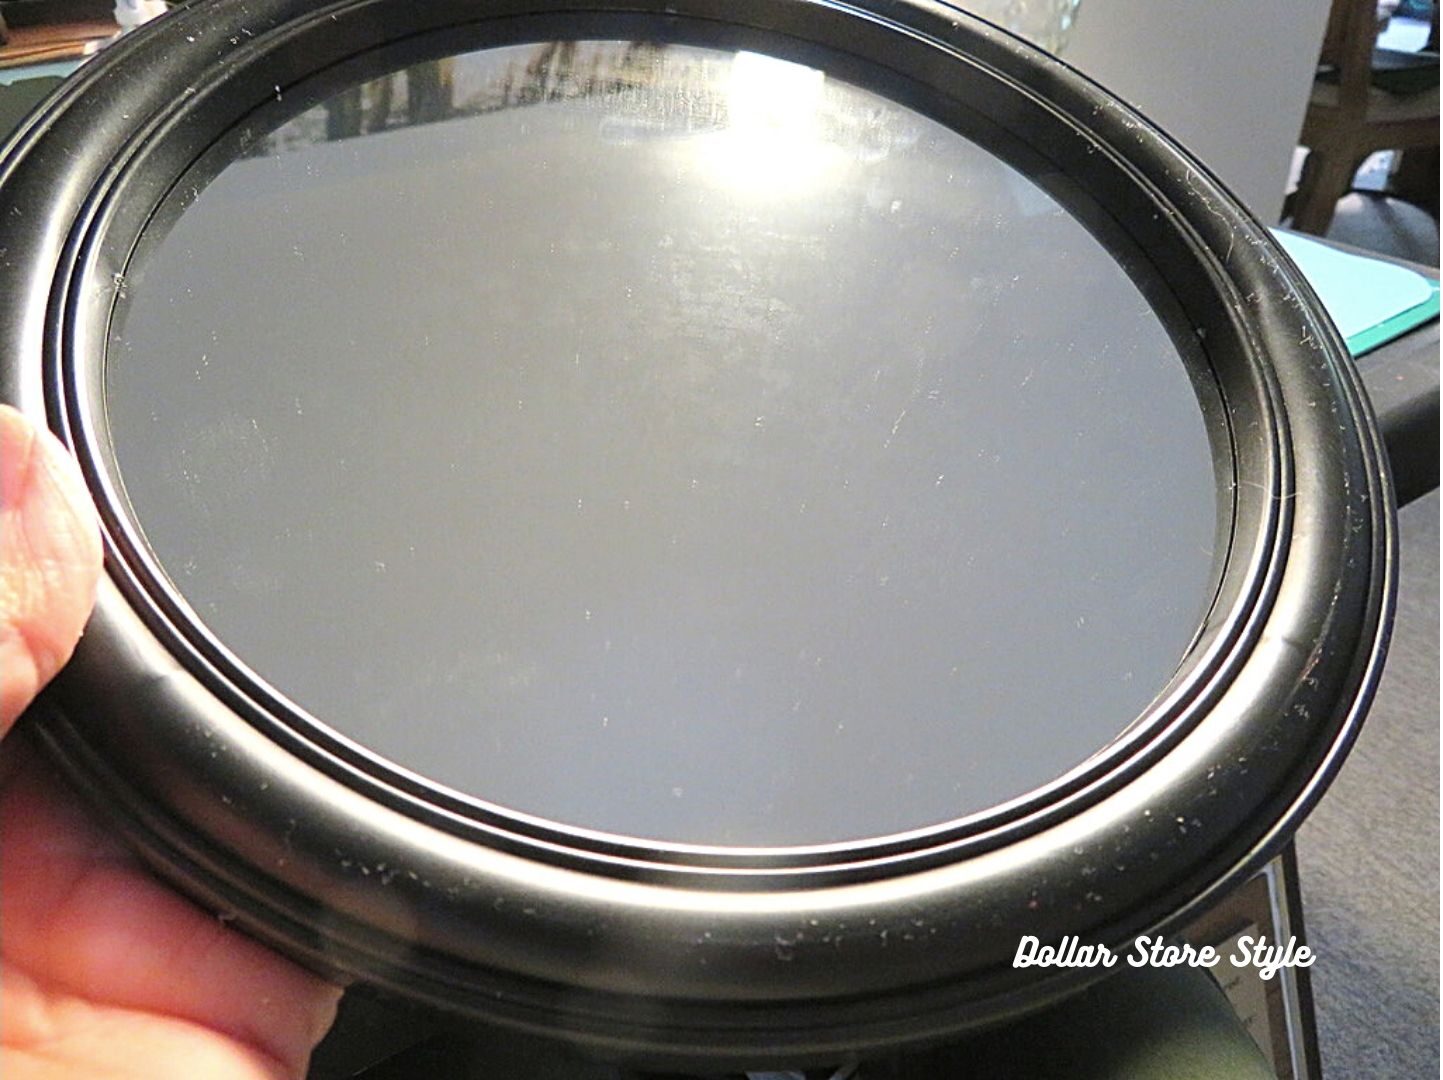
I found this framed 8-inch mirror at Dollar Tree.
Step 2: Remove Frame From Mirror
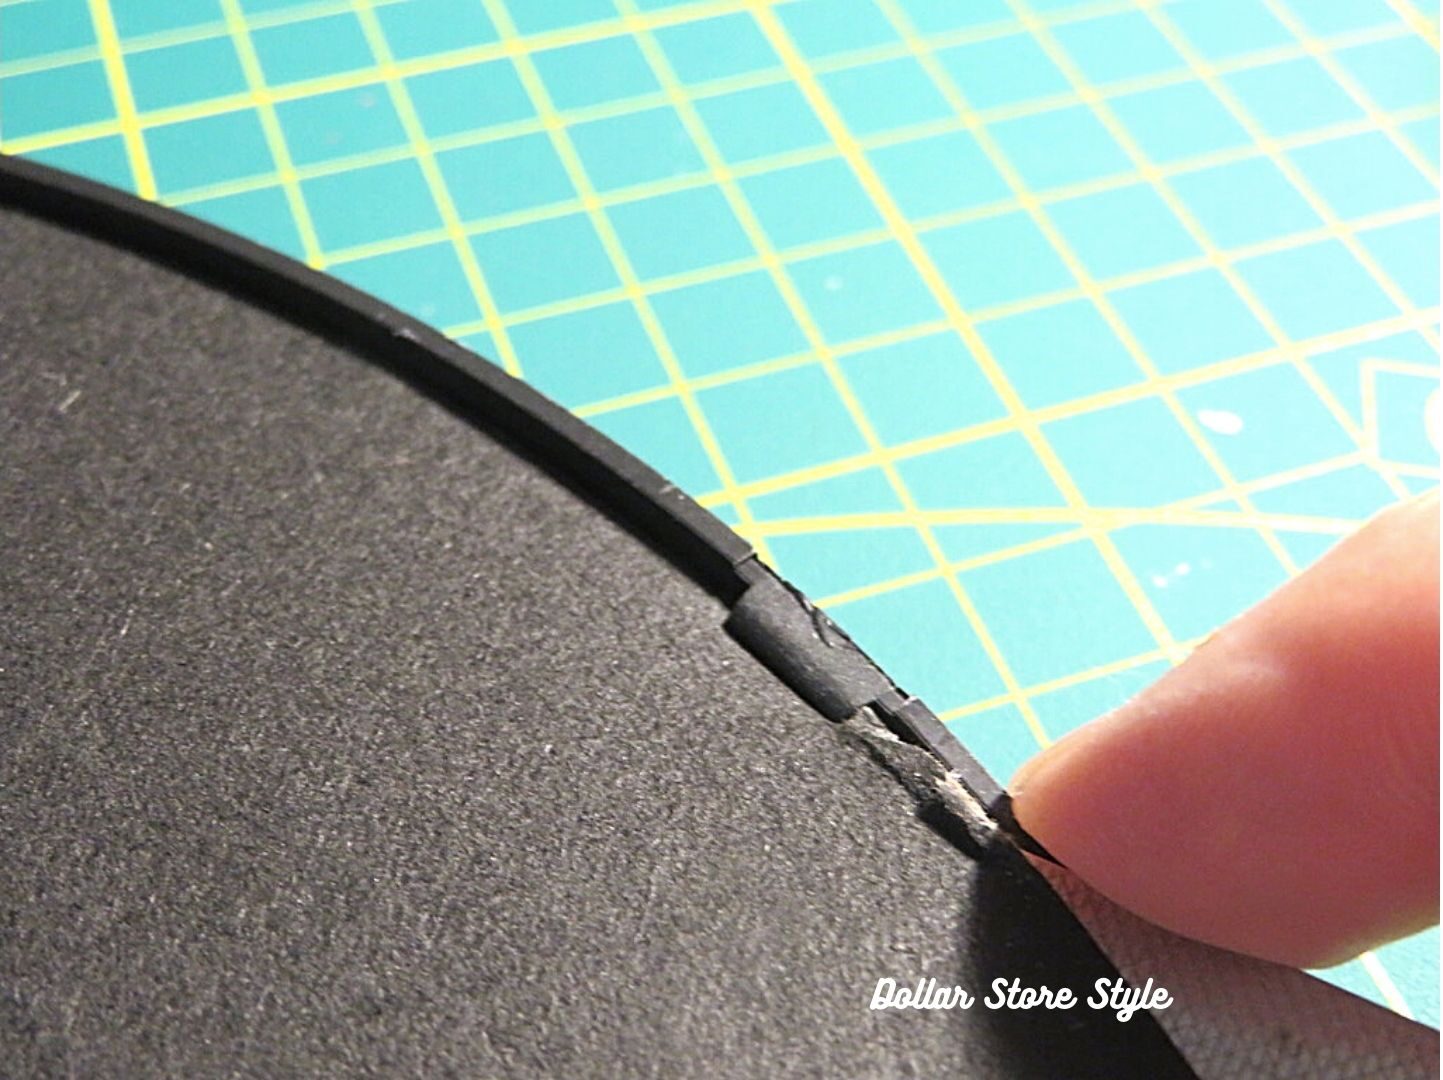
The backings on these mirrors are fairly easy to remove. A small tool like a mini flat-head screwdriver helps to press down the cardboard backing behind the plastic tabs so the backing can be removed. There’s a bit of glue holding the mirror on, but it proved easy enough to separate it from the backing.
Step 3: Glue Mirror to Centre of Charger Plate

Then it’s a simple matter to apply a bit of Gorilla Glue to the back of the mirror and attach it to the centre of the charger. This is the point where others will add some trim around the edge of the mirror to fill in the gap between the mirror and the raised rim. I preferred to let the gold from the base of the charger plate act as the border, instead.
Step 4: Attach a Hanger to the Back of the Charger Plate and Hang
This charger/mirror isn’t heavy, so I attached it to the wall using a Command velcro hanger. I like to use command hooks whenever possible, as I rent.
You could also attach some cord or ribbon to the back using hot glue or Gorilla Glue and hang the mirror on a nail.
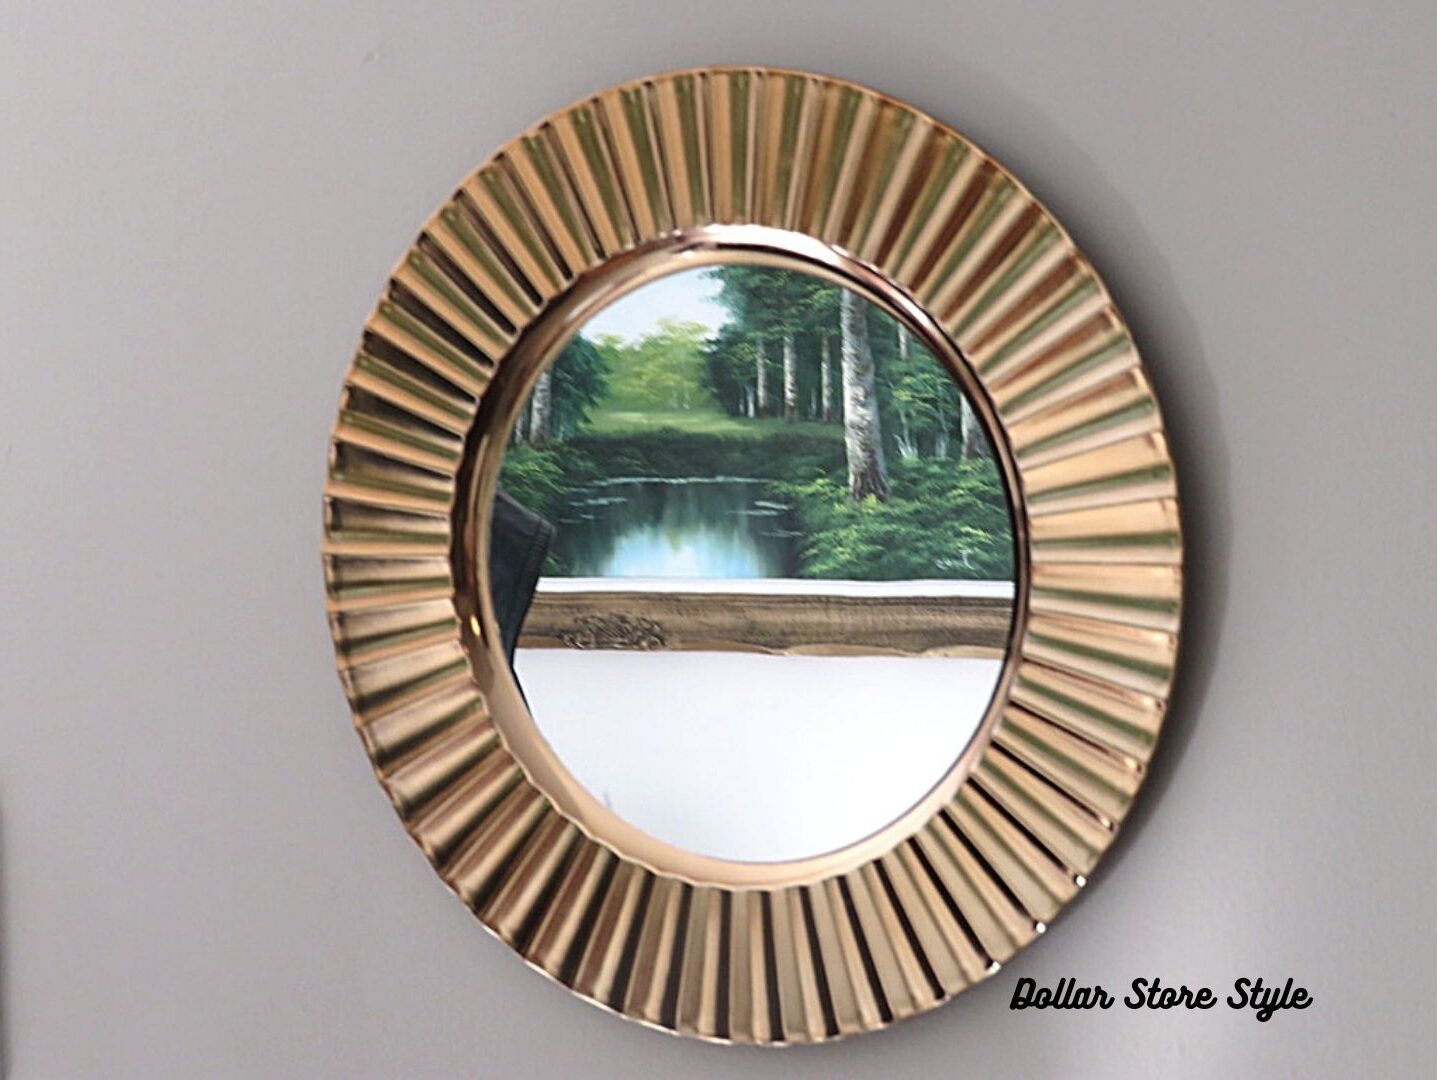
Here’s how it looks on the wall. It’s so high-end looking!
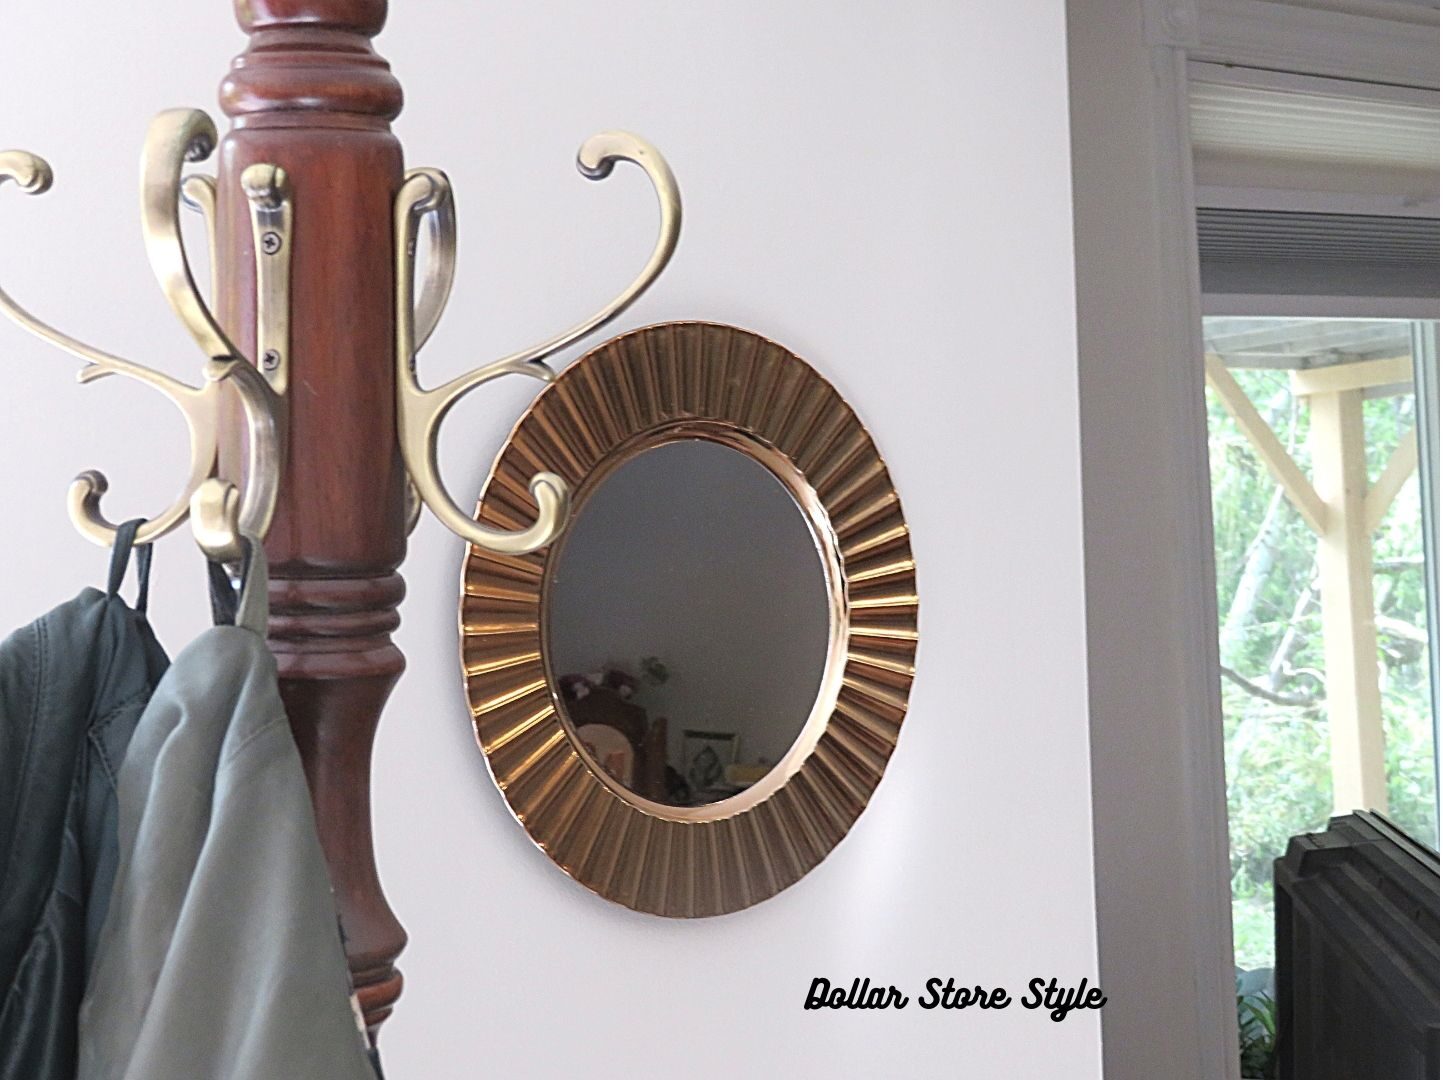
Now I’ve got a mirror by my door where I can check my hair before I go out. I really like the look of this mirror and it was so easy to make!
***
If you enjoyed this article, sign up for my Dollar Store Style Newsletter. Every month, you’ll get a new article, my pick for Find of the Week, a Quick Tip and more!