Every now and then, I like to change things up in my apartment. Recently, I was inspired to make new wall art when I came across some true-to-life floral stickers at Dollar Tree. Using some frames I already had on hand, I was able to create two new pieces that cost next to nothing to make.
Here’s how I paired inexpensive die-cut floral stickers and frames from Dollar Tree to create beautiful new wall art in my home.
Beautiful Wall Art Using Die-Cut Floral Stickers
I am an Amazon Affiliate. If you click a link and make a purchase, I will make a small commission at no extra cost to you.
Supplies Used and Recommendations:

This is just a sampling of the floral stickers I found at Dollar Tree. I’m using the yellow ones for the first frame and some daisies from a different package not shown here. Each set contains six different designs, so I bought doubles of the ones I really liked.
I must say that the backing on these stickers is a bit tricky to remove and requires a bit of patience, so just be aware of that.
Step 1: Prepare Frames

I bought two of these 8″ square frames at Dollar Tree, thinking I could use acetate to remove the lettering. That method didn’t work here, so these frames have languished in my stash for a long time. Then I saw a YouTube creator using a razor blade scraper to remove this kind of lettering, so I tried it.
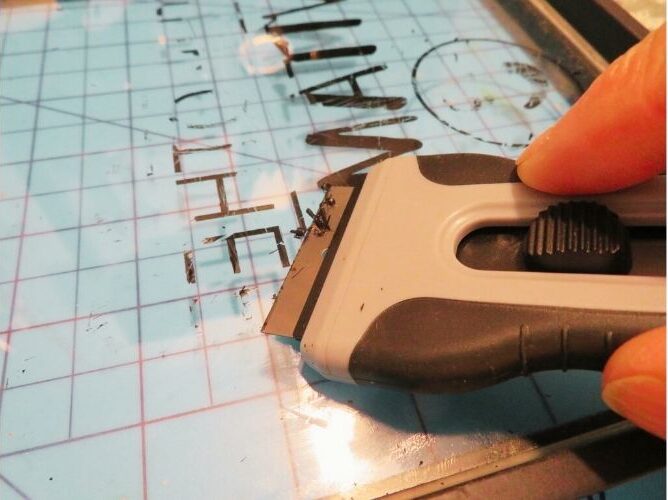
What do you know! It took practically no time at all to scrape the original lettering off of these frames using a dollar store paint scraper!
Step 2: Apply Flower Stickers
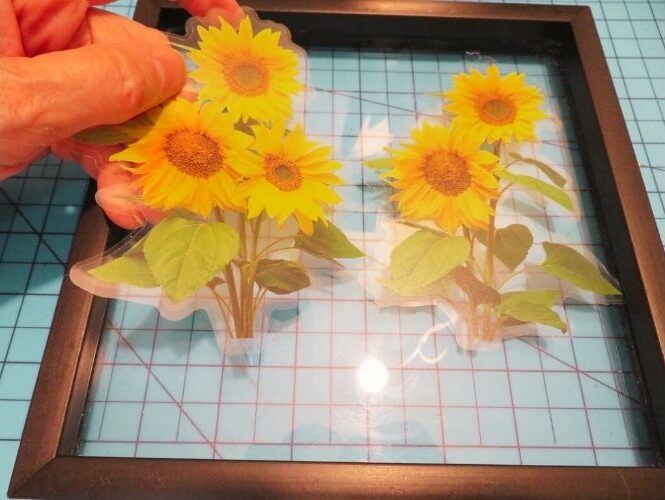
After I had cleaned the glass, I added two floral stickers to the front of the frame to fill it. I overlapped these slightly. As mentioned previously, you have to give yourself grace when trying to remove the backing from the stickers. It can be a bit irksome trying to separate the two layers.
Step 3: Add Burlap Backing
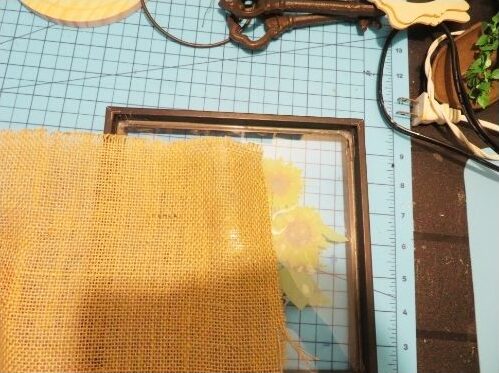
As this type of frame doesn’t have a backing, I used some leftover burlap I had on hand to give the flowers an appropriate backdrop.
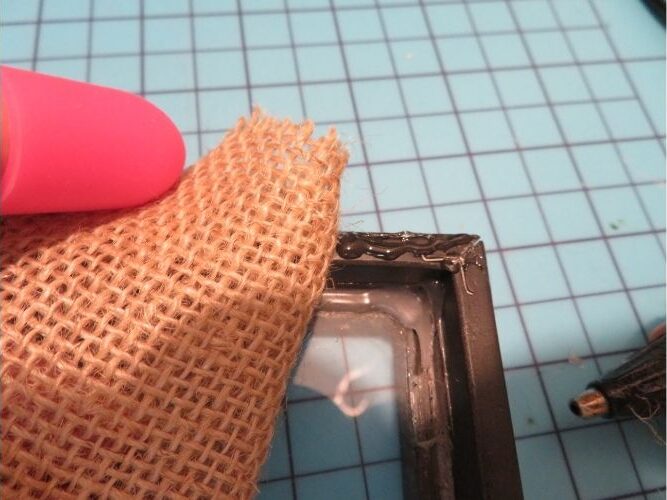
This square of fabric was just large enough to glue to the back of the frame around the edges. Then I trimmed off any excess. If the frames you’re using have backings, just glue the burlap to the backings. I would recommend using a minimal amount of glue in the corners, so it doesn’t show through the fabric.
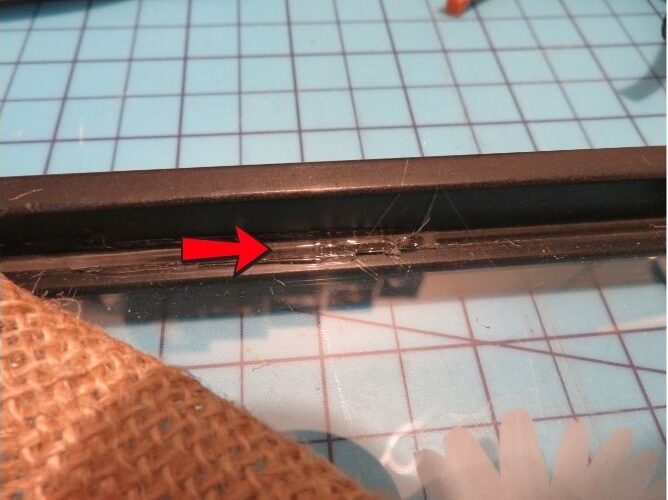
The burlap I had left, wasn’t large enough to cover the entire back of the second frame, so I frayed the side edges, centered it behind the flowers and hot glued it to the inside edge of the frame.
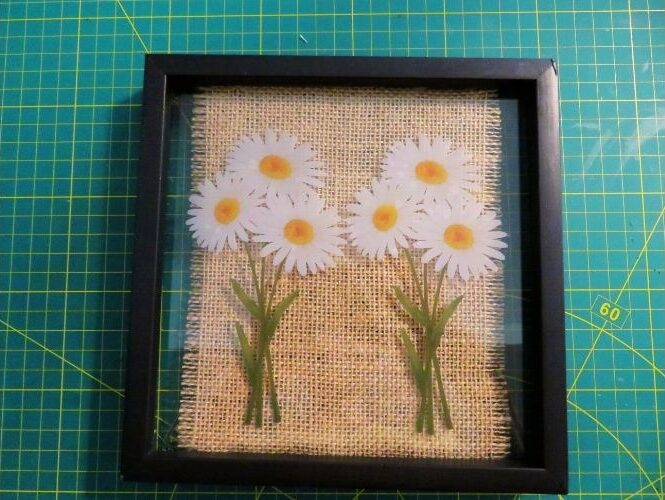
I was pleasantly pleased with the results and now I wished I’d done the same thing with the first frame. As daisies are a particular favourite of mine, I bought two packages of the white flowers, so I could have doubles of each of the designs.
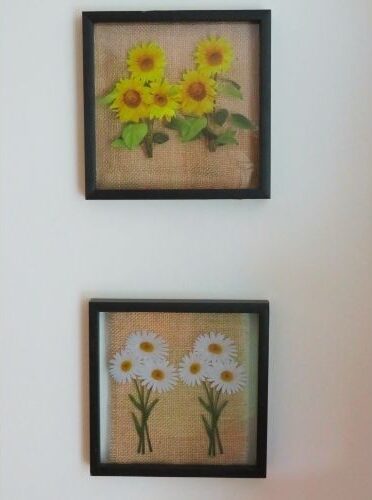
I’m pleased with the way my new artwork turned out and will be doing more with some of the other die-cut florals I bought.
***
If you enjoyed this post, sign up for the Dollar Store Style newsletter. Each month you’ll get a new article, my pick for a Find of the Week, a Quick Tip for decorating and much more.