Home Decor
Use Rub-On Transfers to Transform Rocks
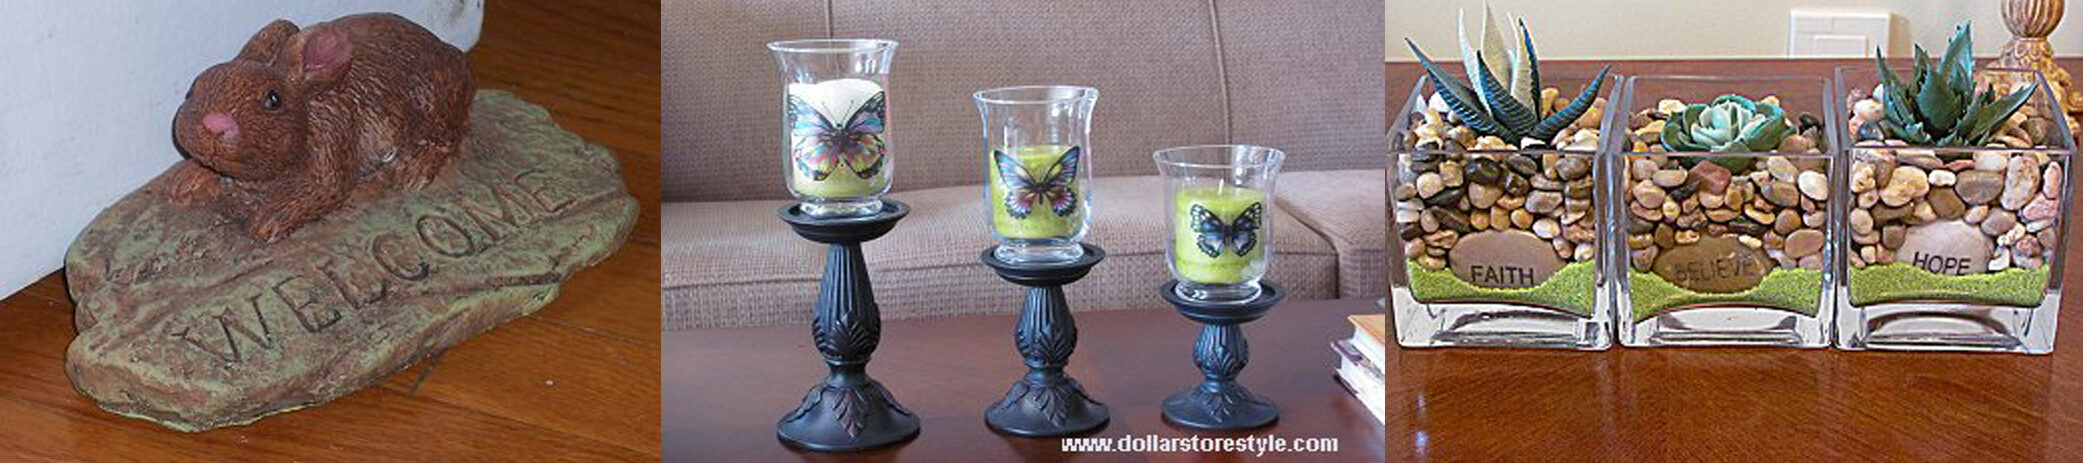
For me, and I’m guessing many of you, summer decor focuses on using natural elements. For us, the things we find in nature soothe our souls and bring a sense of calm to our homes. So we gather sea glass, driftwood, sea shells and even rocks to bring indoors.
I’ve also, in recent years, discovered rub-on transfers. They’re a quick and easy way to elevate the look of many different craft projects and you can generally find a variety of them at Dollar Tree. One day, when I was considering what to do with some of the smaller rub-ons, I hit on the idea of using them on rocks. Here’s how I used rocks and rub-on transfers to create some summertime accents for my home.
More Fridge Magnets Anyone?
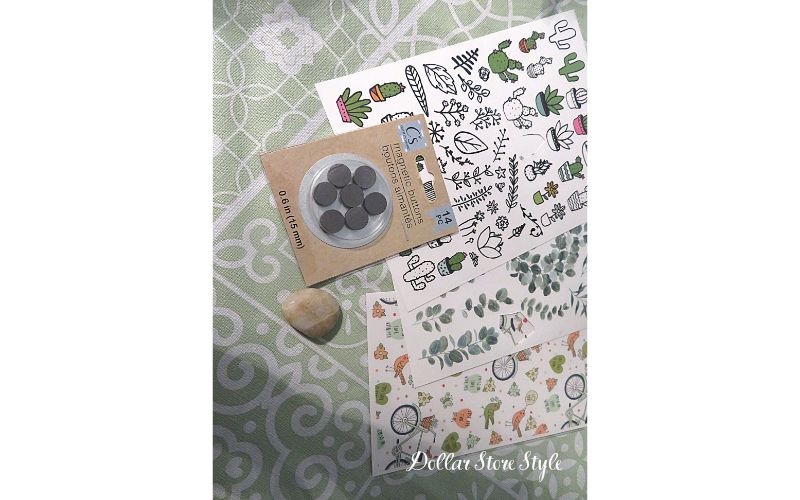
Supplies Used:
- smooth rocks (approximately 1-inch long) (from dollar store or gathered)
- rub-on transfers with smaller elements (Dollar Tree)
- Mod Podge (optional)
- button magnets (Dollar Tree)
From a bag of river rocks, pick two or three with reasonably flat surfaces. I made three because I wanted to use an image from each of the three sheets of rub-on transfers I had. But, of course, make as many (or as few) as you like.

I used my fingernail to transfer the image onto each rock. Not all of the outline transferred but I was happy enough with the result. It’s optional, but I gave my magnets a coat of Mod Podge to help preserve the images.

Then just glue the button magnet to the back of each rock. Some round magnets are self sticking but I recommend adding hot glue anyway, to ensure proper bonding to the rock.
If you have or can find a roll of magnetic tape, that would work even better. You can cut it to size and it has a lower profile than a button magnet.

The three magnets on my fridge. I think they’re unique and cute, but I would say that, wouldn’t I?
Stand-Up Rock Decor
Supplies Used:
- sentiment rocks (Dollar Tree)
- plain rock(s) to paint (approx. 2″)
- white acrylic paint
- rub-on transfers
- Mod Podge
- 2″ round wood slices
- hot glue
- moss and tiny flowers

One of these word rocks was from a set of three found at Dollarama some time ago, but you can find individual ones, like the example on the right, at Dollar Tree.

I embellished each sentiment rock by adding rub-on transfers in appropriate places to highlight the words.

A coat of Mod Podge helps to seal the rub-ons.

Painted Rock

I painted one of the larger 2-inch plain rocks I had in my stash using white acrylic paint to help the rub-on transfers I’ve chosen stand out.

I used a three cacti rub-ons for this one. In this case, it’s a good idea to give the rock a coat of Mod Podge before you apply the rub-ons. I found out the hard way that picking the plastic piece off the transfer with my fingernail, caused me to scrape the paint off in one spot. This in turn, meant a bit of touch up work. Live and learn, eh?
Then, having applied the rub-ons, I finished with a coat of Mod Podge over the entire face of the rock.
Making Bases
After I’d finished decorating my rocks with the rub-ons, I decided I wanted a way to make them stand up. I settled on some wood slices that I had in my stash, as they would compliment the nature theme.


Decide where you want your rock to sit and draw a line of hot glue in that spot.

Angle the rock slightly backward as you sit it in the hot glue and reinforce it with another line of hot glue along the front of the rock.

To hide the hot glue, place a bit of moss along the front of the rock. I dug through the bits and pieces in my faux florals and found some tiny flowers I liked to finish things off, securing everything with a bit of hot glue.


These little decor pieces would make nice keepsake gifts, don’t you think? Or perhaps you could make enough of them to use as party favours at your next summer gathering. They’re certainly easy enough to make and cost next to nothing for supplies.
***
If you enjoyed this post, sign up for the Dollar Store Style newsletter. Every month you’ll get a brand new article, my pick for a Find of the Week, a Quick Tip for decorating, a Product Review and much more.
