
After years of using the same Christmas cushion covers, I was longing for some new ones. However, rather than buying new cushion covers, I came across some fabric placemats at Dollar Tree that I knew would make pretty cushions. The effort was minimal and I now have new holiday cushions for my sofa.
Here’s the easy way to make pretty new Christmas cushions for the holidays on a dollar store budget, using Dollar Tree placemats.
Make Pretty New Christmas Cushions for Less
I am an Amazon Associate. If you click on a link and make a purchase, I will make a small commission at no extra cost to you.
Idea 1: Use a Double-Sided Placemat
Supplies Used and Recommendations:
- cloth double-sided placemats
- seam ripper
- fibre fill or stuffing from a cheap pillow
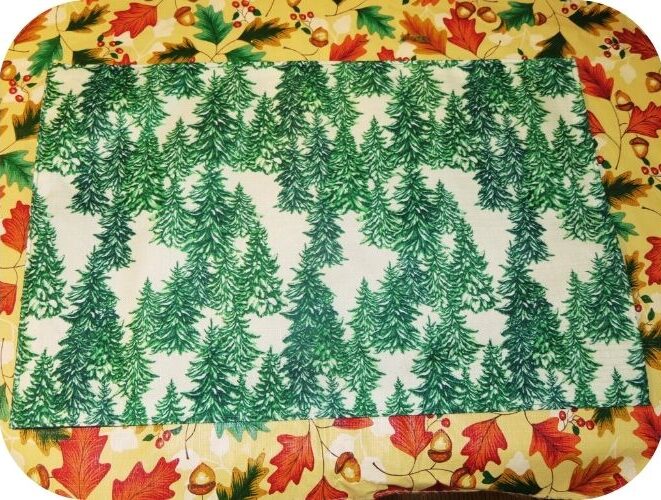
When I found these double-sided placemats at Dollar Tree, I knew they would make pretty lumbar pillows.
Step 1: Separate Placemat Layers on One End

Because these placemats have two layers, all I had to do was to remove some of the stitching from one of the short ends using a seam ripper…
Step 2: Stuff with Fibre Fill
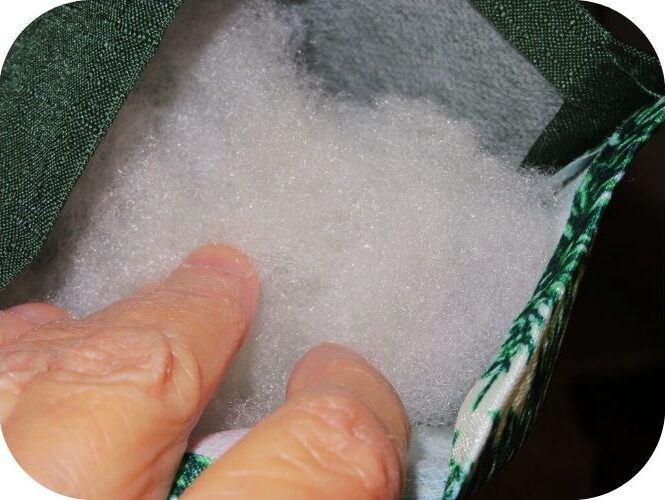
…and stuff it with fibre fill. I had saved some stuffing from old pillows to use for projects like this, but you could buy a cheap pillow and use that stuffing, rather than buying crafting fibre fill. Dollarama sells standard pillows for under five bucks each.
Step 3: Restitch End of Cushion
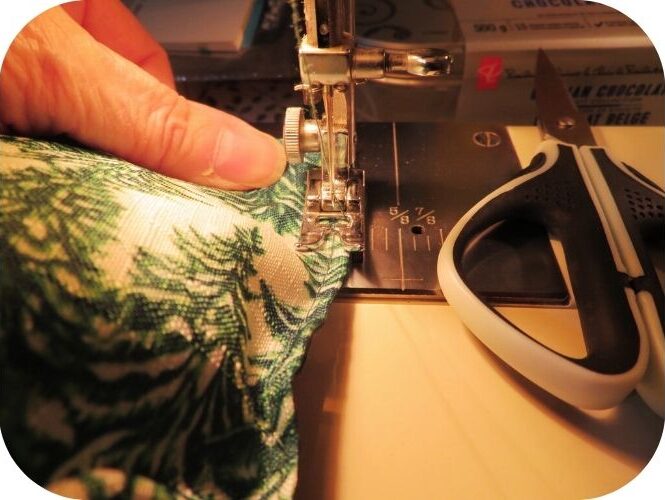
You can use hot glue or fabric glue to close up the end, but I used my sewing machine. Was it a bit awkward, with the stuffed pillow. Yep! Is my stitching perfectly straight? Nope! But the green thread I used blends right in and friends aren’t going to look that closely at my work. (I hope!)

I made two of these and am very happy with the way these lumbar cushions turned out. It’s so easy, anyone can do it.
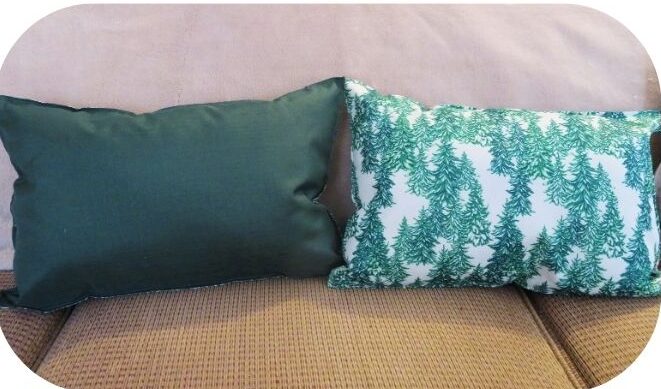
These two-sided cushions offer a bit of variety, too, as they can be styled with the plain side showing.
Idea 2: Tapestry Placemat Pillow
Supplies Used and Recommendations:
- 2 tapestry placemats per cushion
- fibre fill or stuffing from a cheap pillow
- hot glue or needle and thread
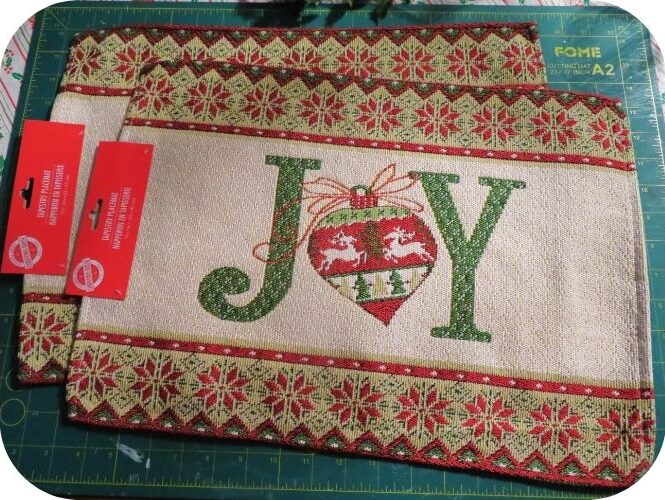
These are the tapestry placemats I found at Dollar Tree. Be sure to pick two that match in size. Mine were slightly off, but I made it work.
Step 1: Remove Labels
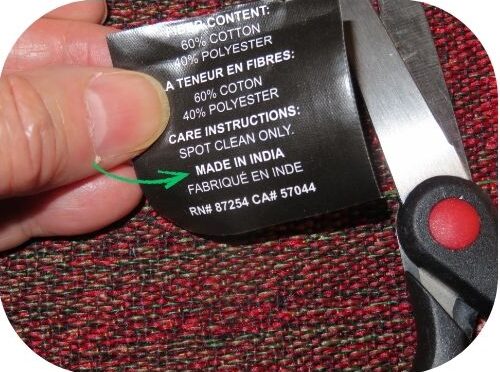
Remove the labels from each placemat. I think it’s worth noting that not everything from the dollar store is from china. I have found other woven items in dollar stores that were also made in India.
Step 2: Sew or Glue Three Sides Together
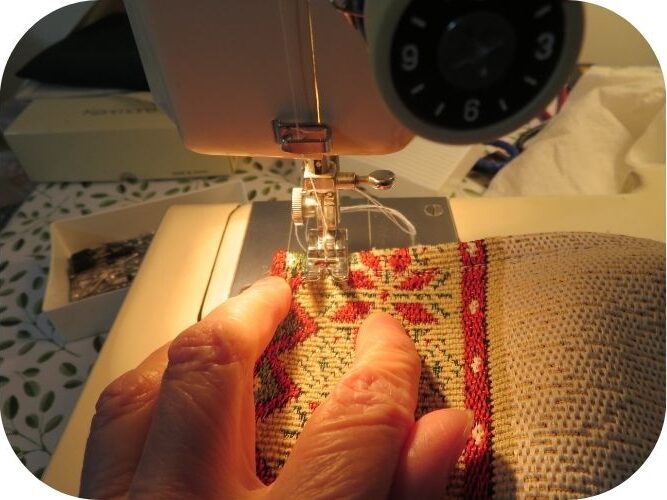
Put the placemats together with the right sides facing out. That way, the finished cushion will have a decorative edging. You could try hot gluing these placemats together but, as this fabric is heavier, I decided to stitch mine on the sewing machine.
I pinned the two placemats together and just followed along where the original stitching is on the placemats, leaving one end open.
Step 3: Stuff Cushion With Fibre Fill
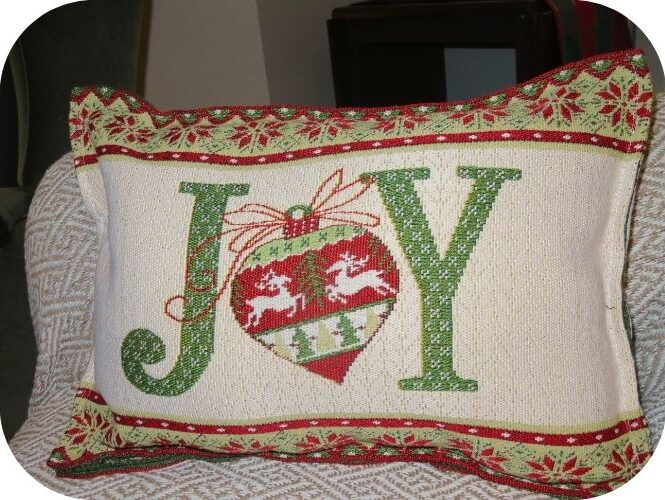
After stuffing the cushion, I used the sewing machine to close up the end. Again, the stitching may not be perfect, but no one would ever know if I didn’t tell them. I like the edging that’s created by sewing the placemats together this way.
I’m very happy with the way my new Christmas cushions turned out and they took very little time and effort to make.
***
If you enjoyed this post, sign up for the Dollar Store Style newsletter. Every month, you’ll get a new article, my pick for a Find of the Month, a Quick Tip for decorating, a Product Review and much more.